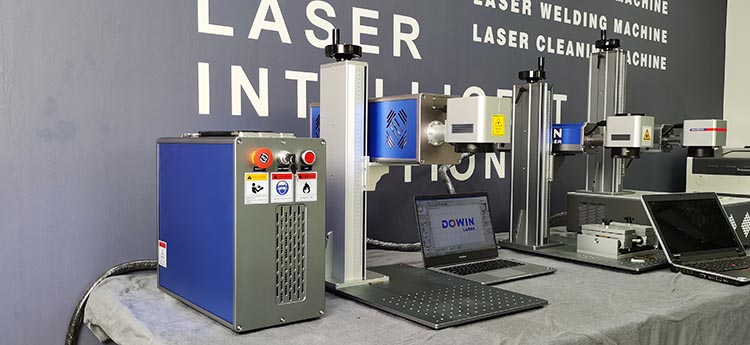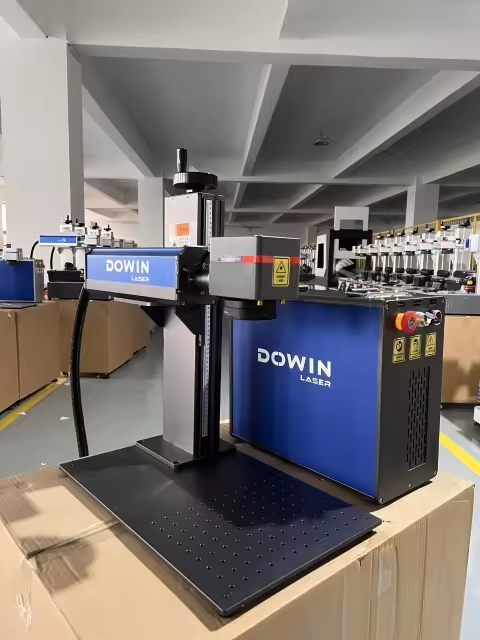
The Industrial Workhorse: Your Guide to Operating and Maintaining a Fiber Laser Marking Machine
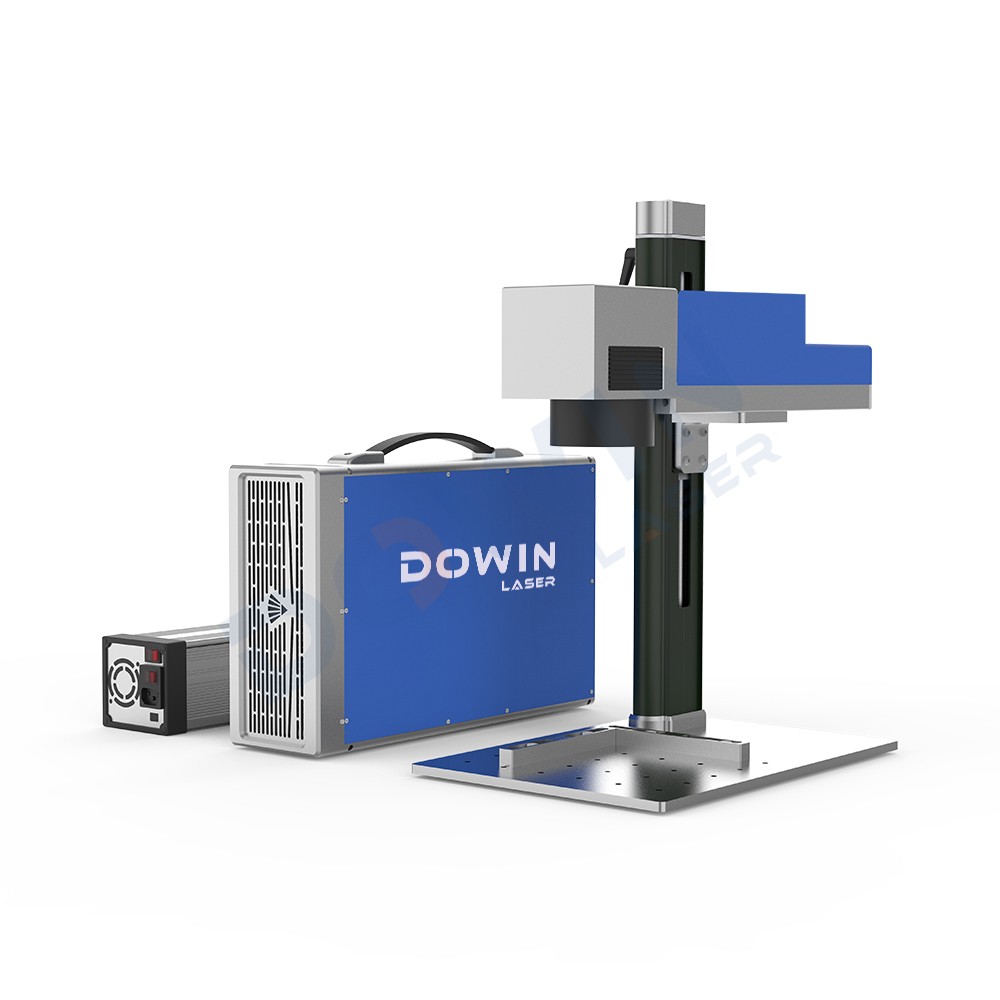
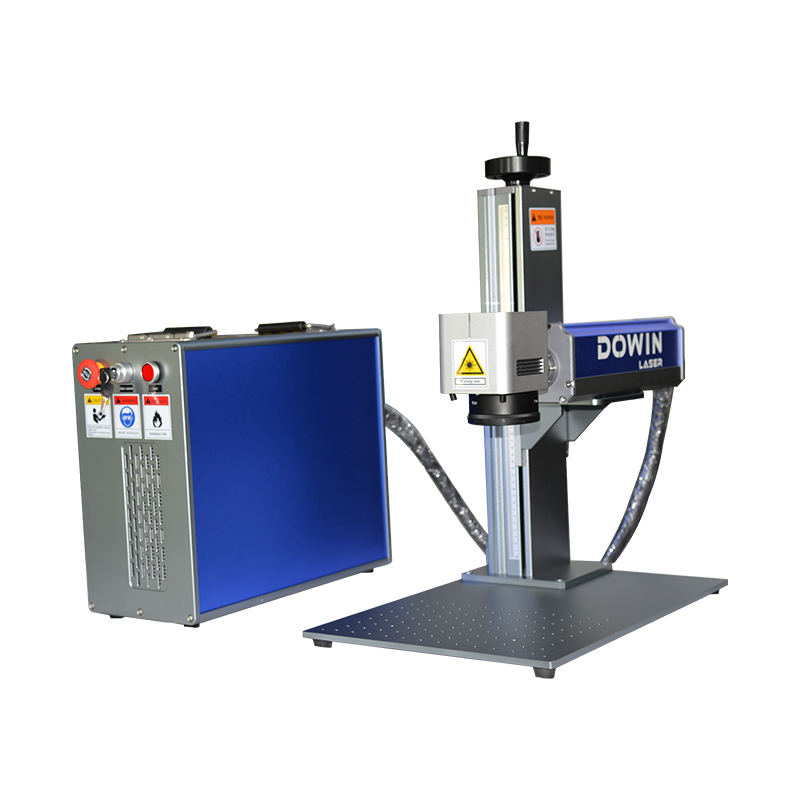
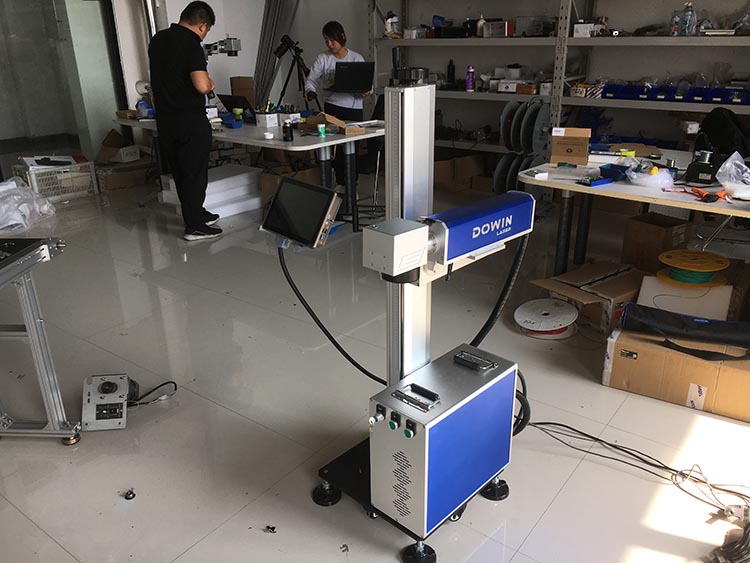
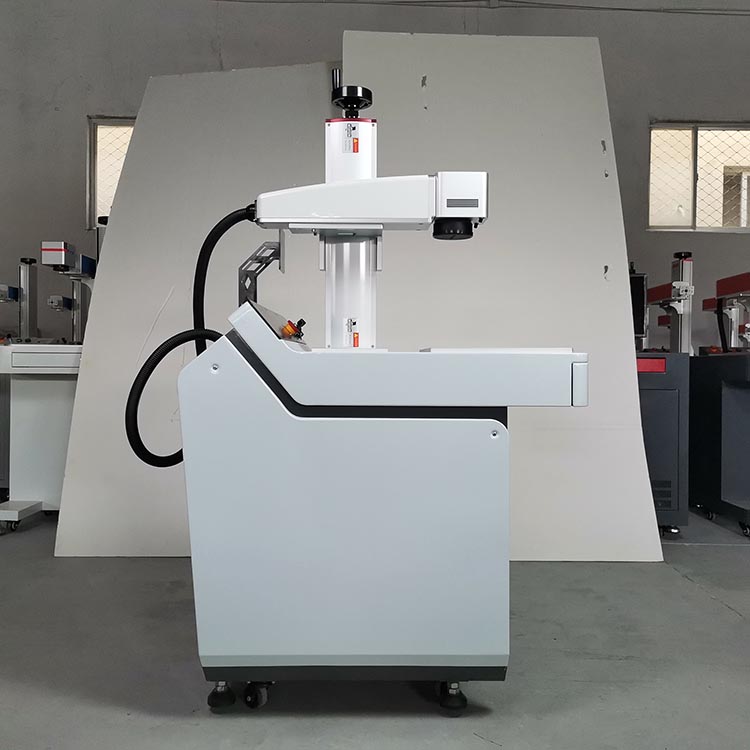
The fiber laser marking machine is renowned for its robustness and reliability, often serving as the backbone of a production line. However, like any precision tool, its long-term performance and lifespan depend heavily on correct daily operation and consistent, simple maintenance. Understanding this process ensures you get the maximum value and productivity from your investment.
Part 1: The Daily Workflow – How to Operate Your Fiber Laser Marker
Operating a modern fiber laser marking system is a streamlined process, designed for efficiency and repeatability.
Step 1: Preparation & Power-On
-
Environment Check: Ensure the work area is clean, free of dust and obstructions. Verify that the ventilation or fume extraction system is clear and functional.
-
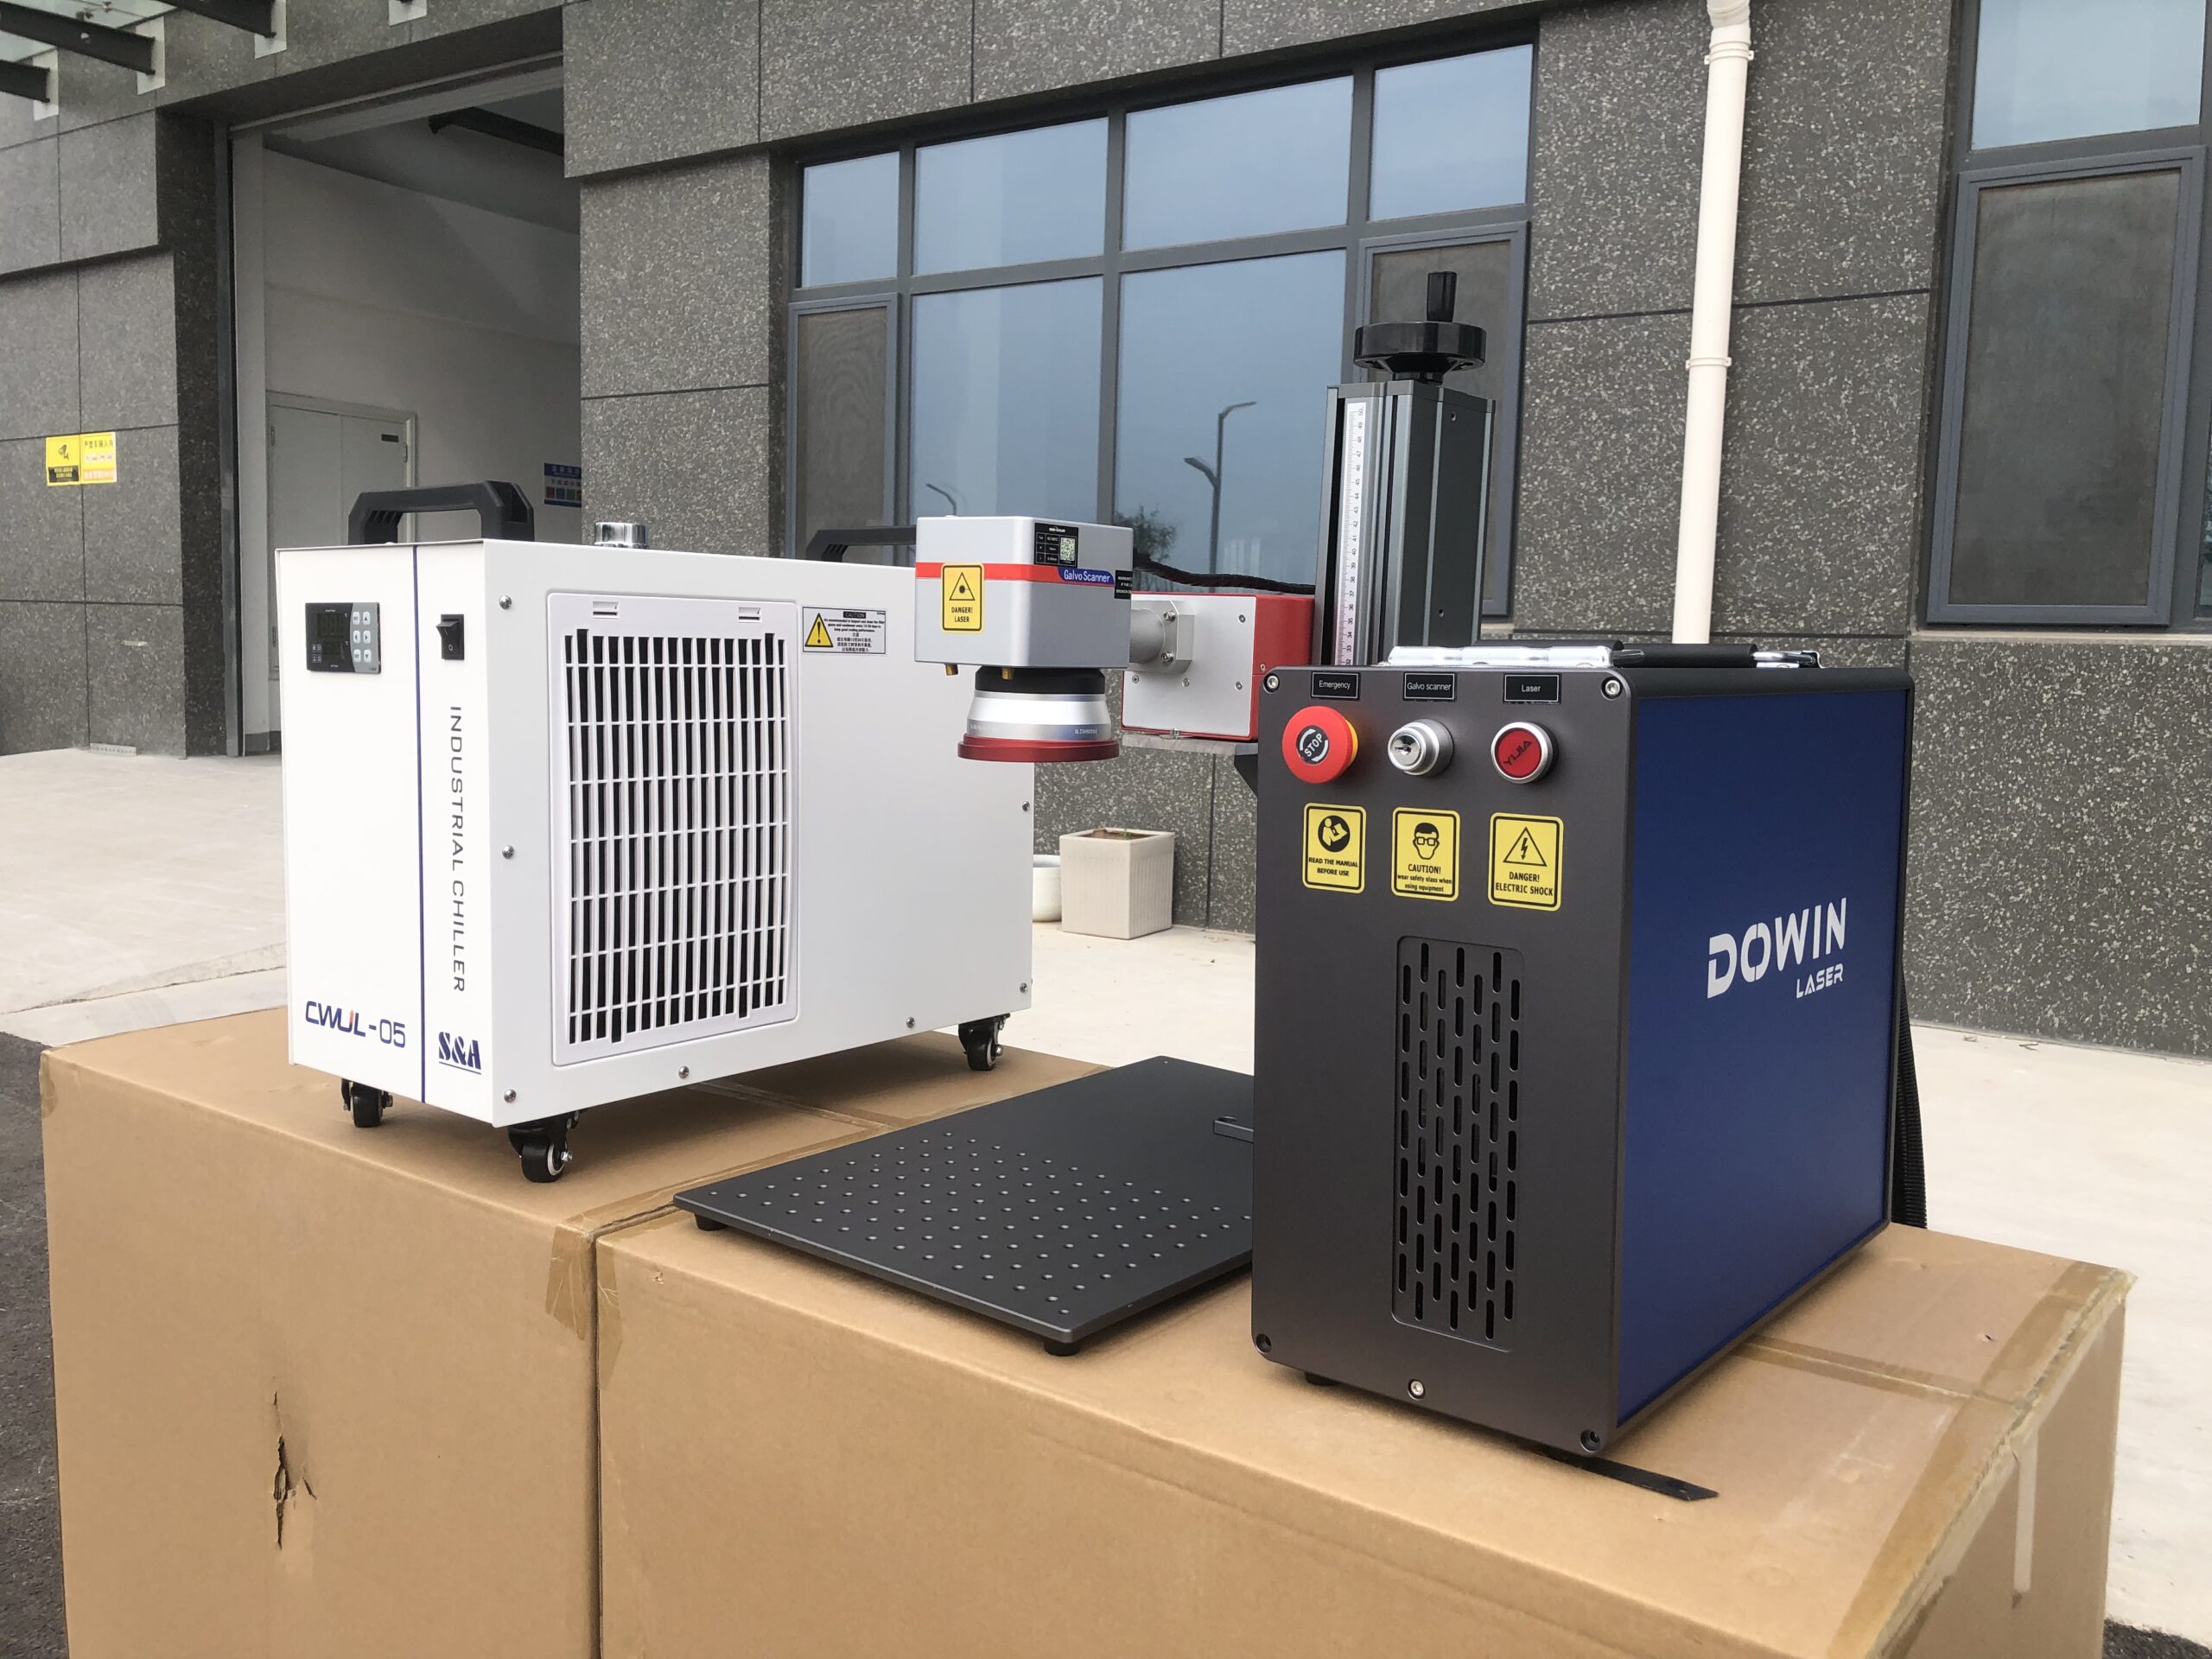
Power Sequence: Turn on the main power switch, then power on the chiller (cooling system). Wait for the chiller to stabilize and reach the set temperature (typically around 20-25°C). Finally, power on the laser marker itself. This sequence protects the laser source from potential thermal shock.
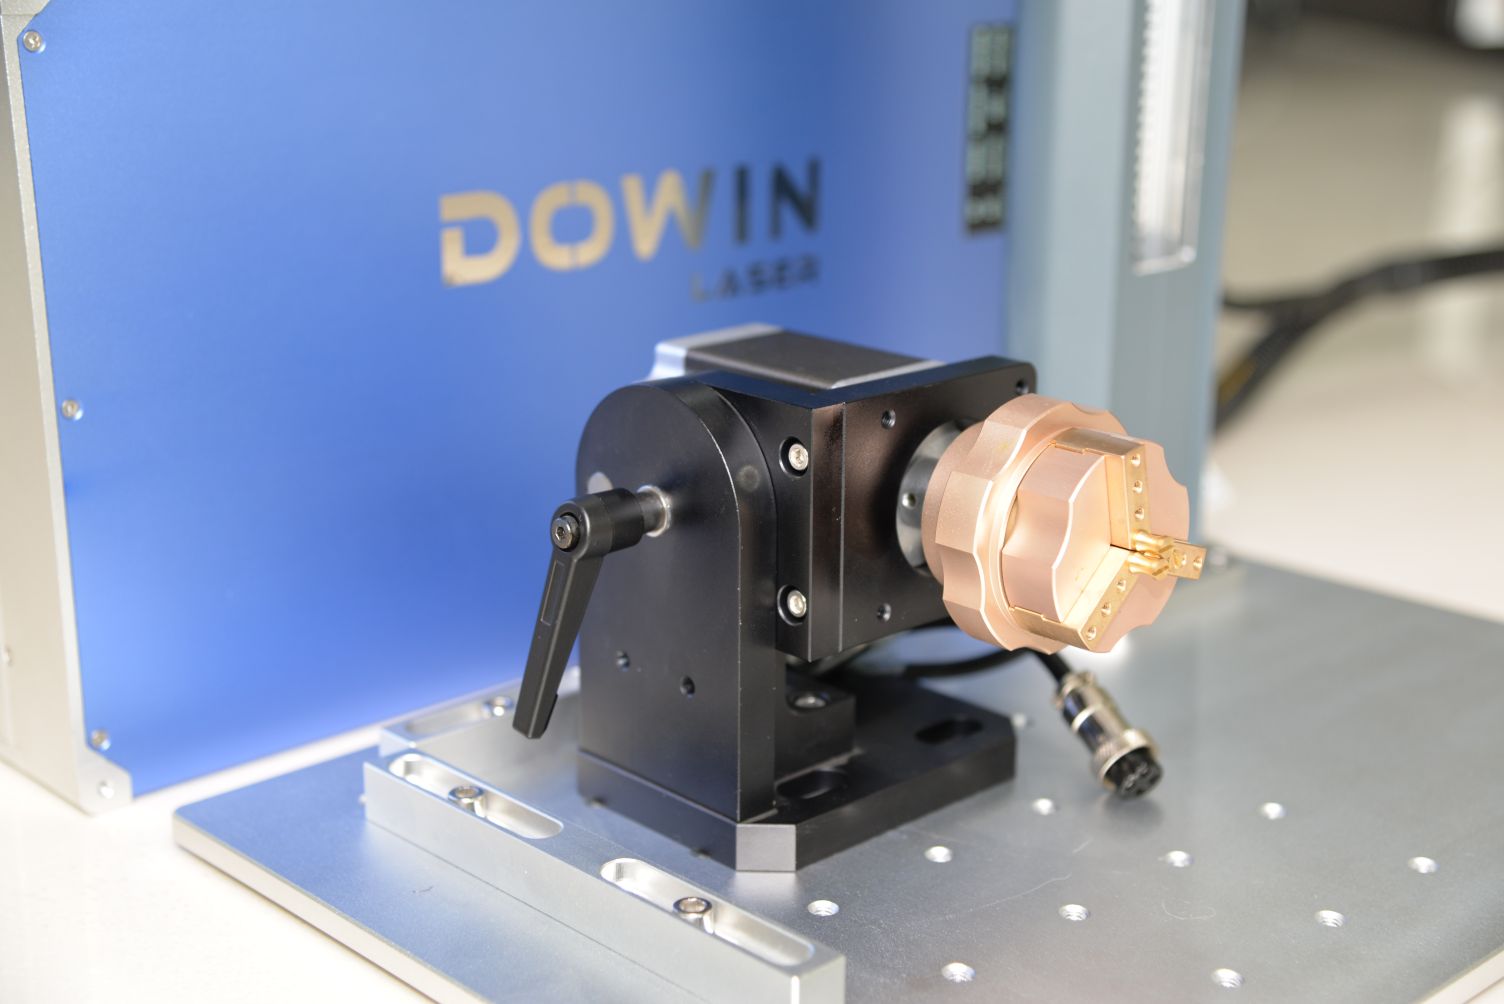
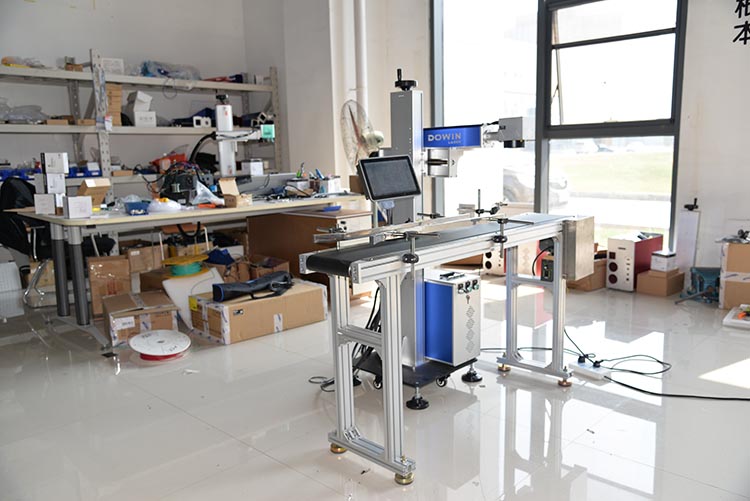
Step 2: Workpiece Setup & Fixturing
-
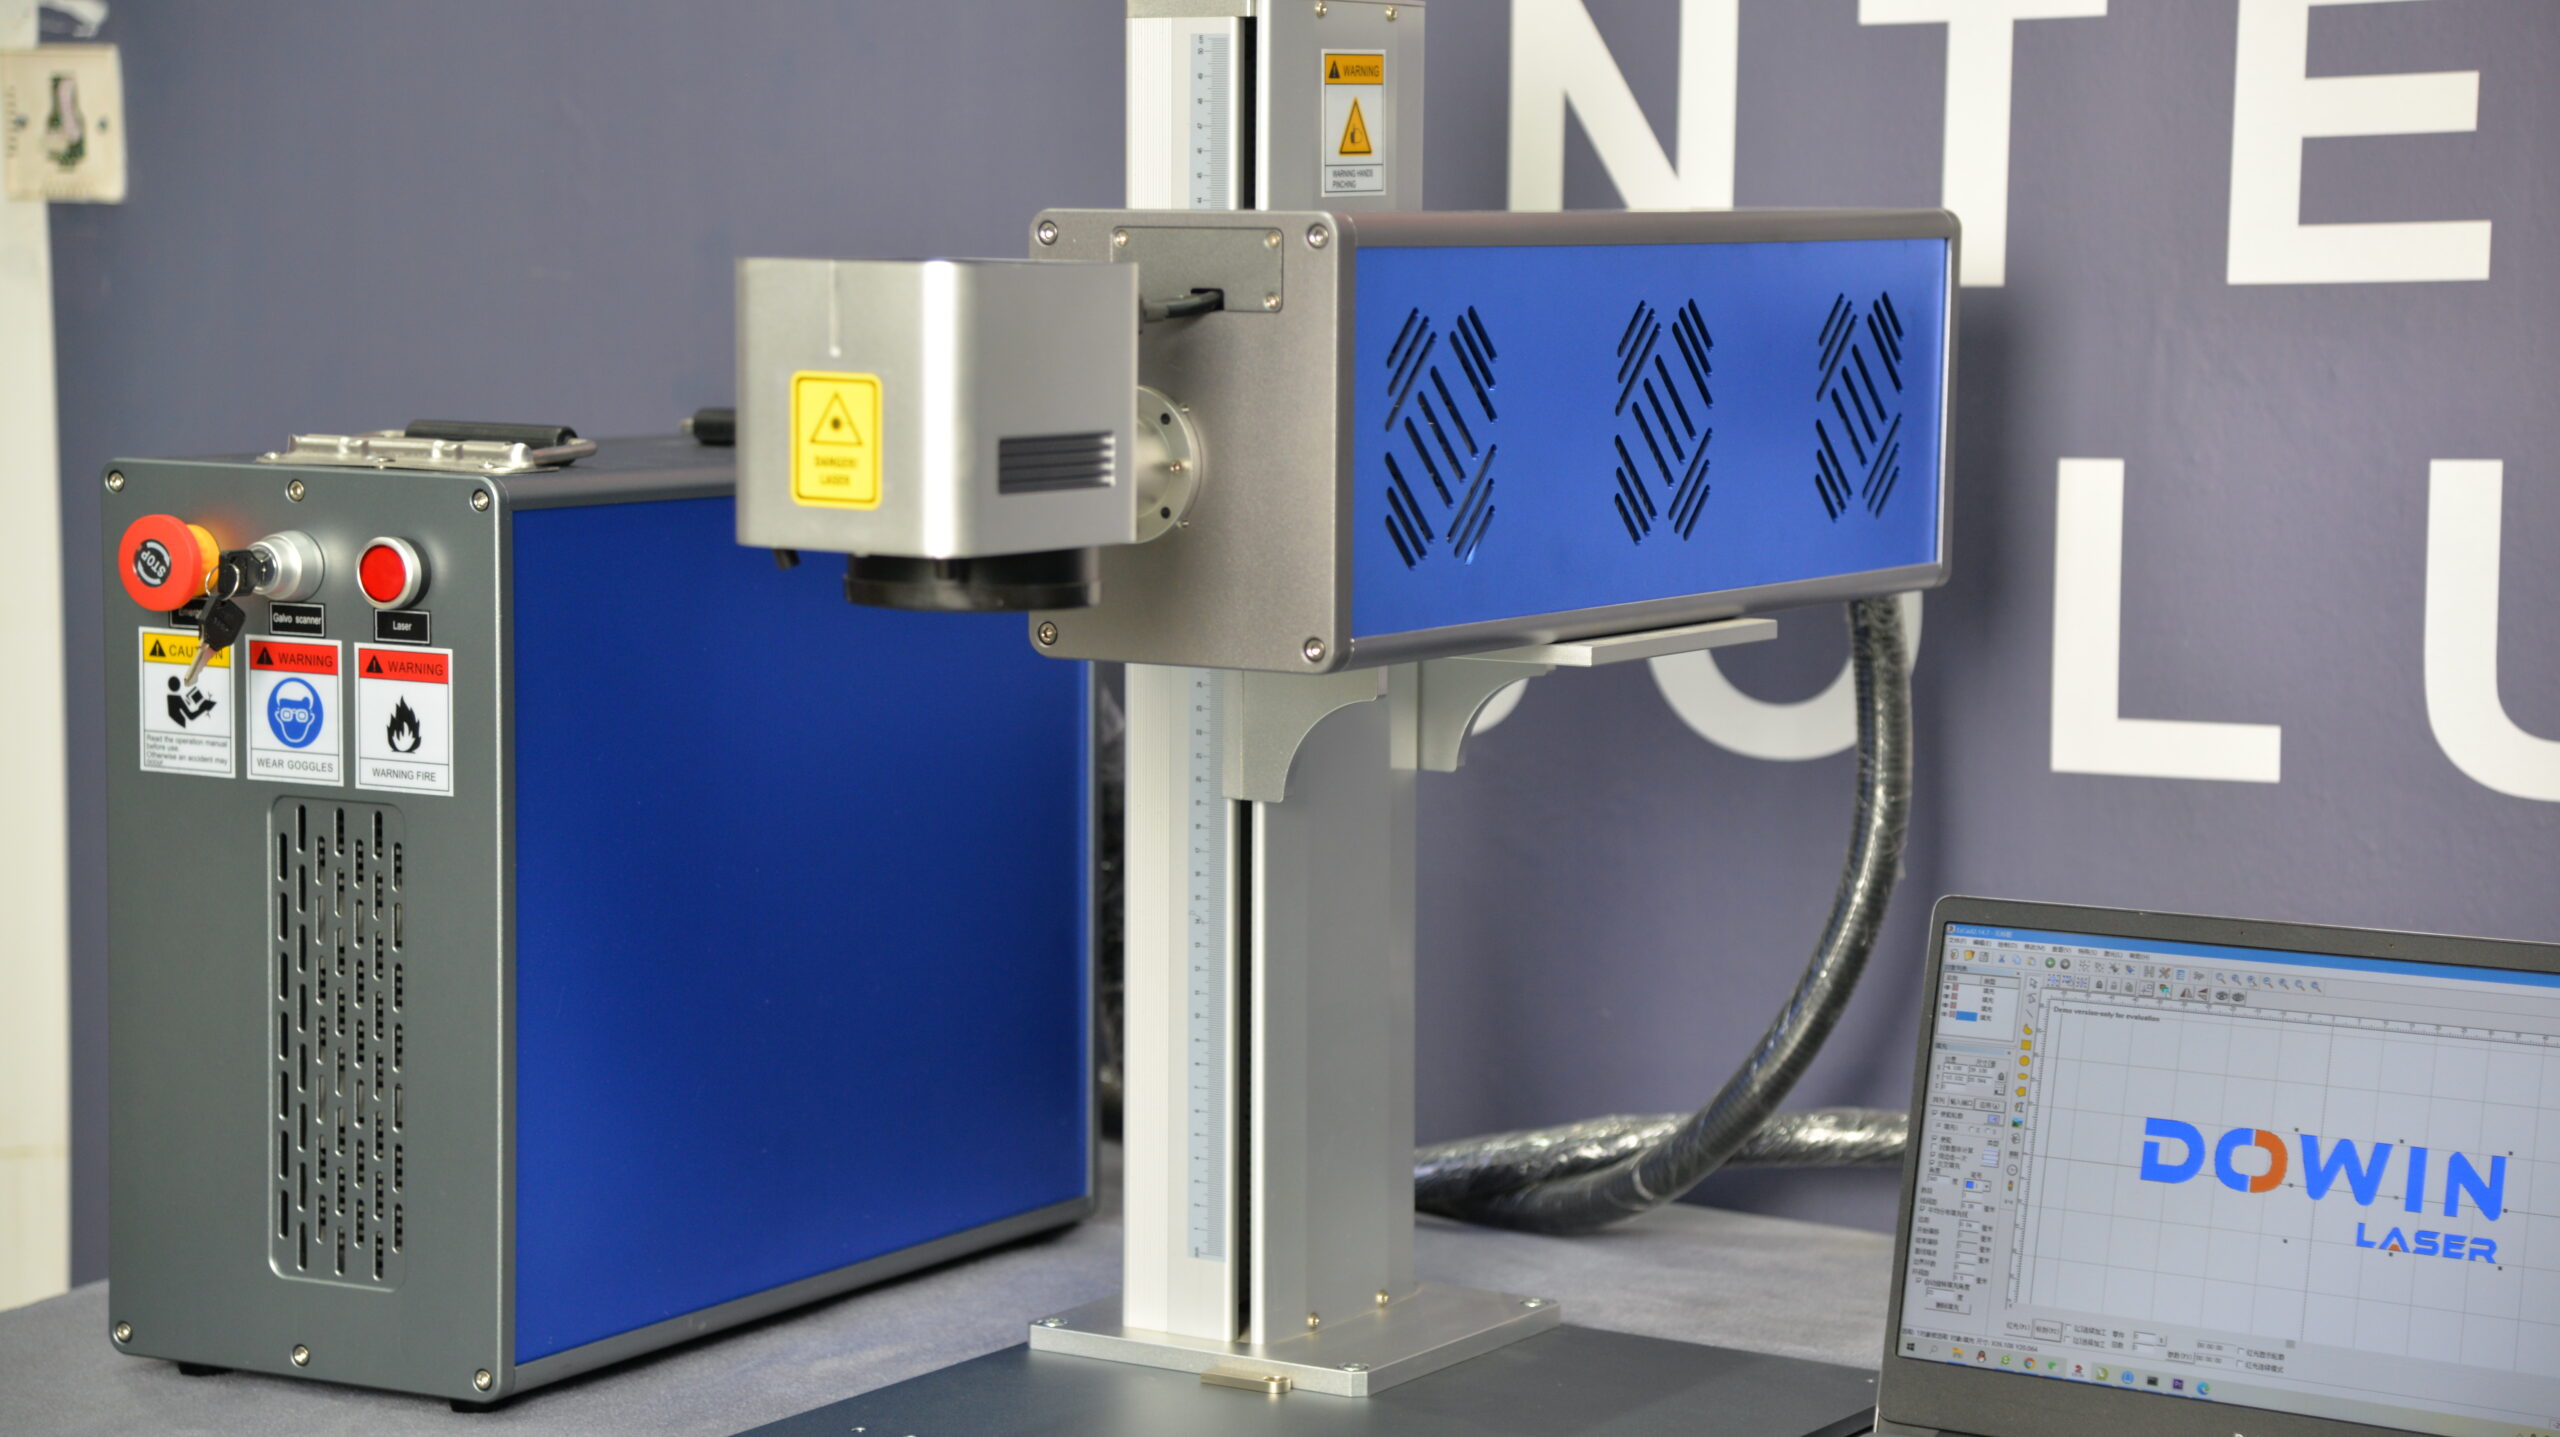
Secure the Part: Place the workpiece firmly in the jig or fixture. Consistency is key—ensure the marking surface is level and at the correct focal distance.
-
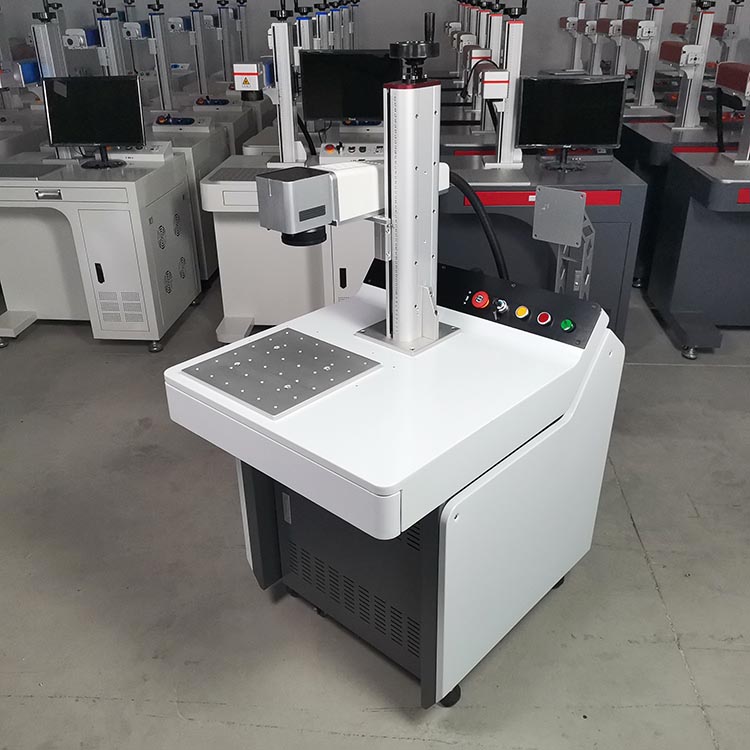
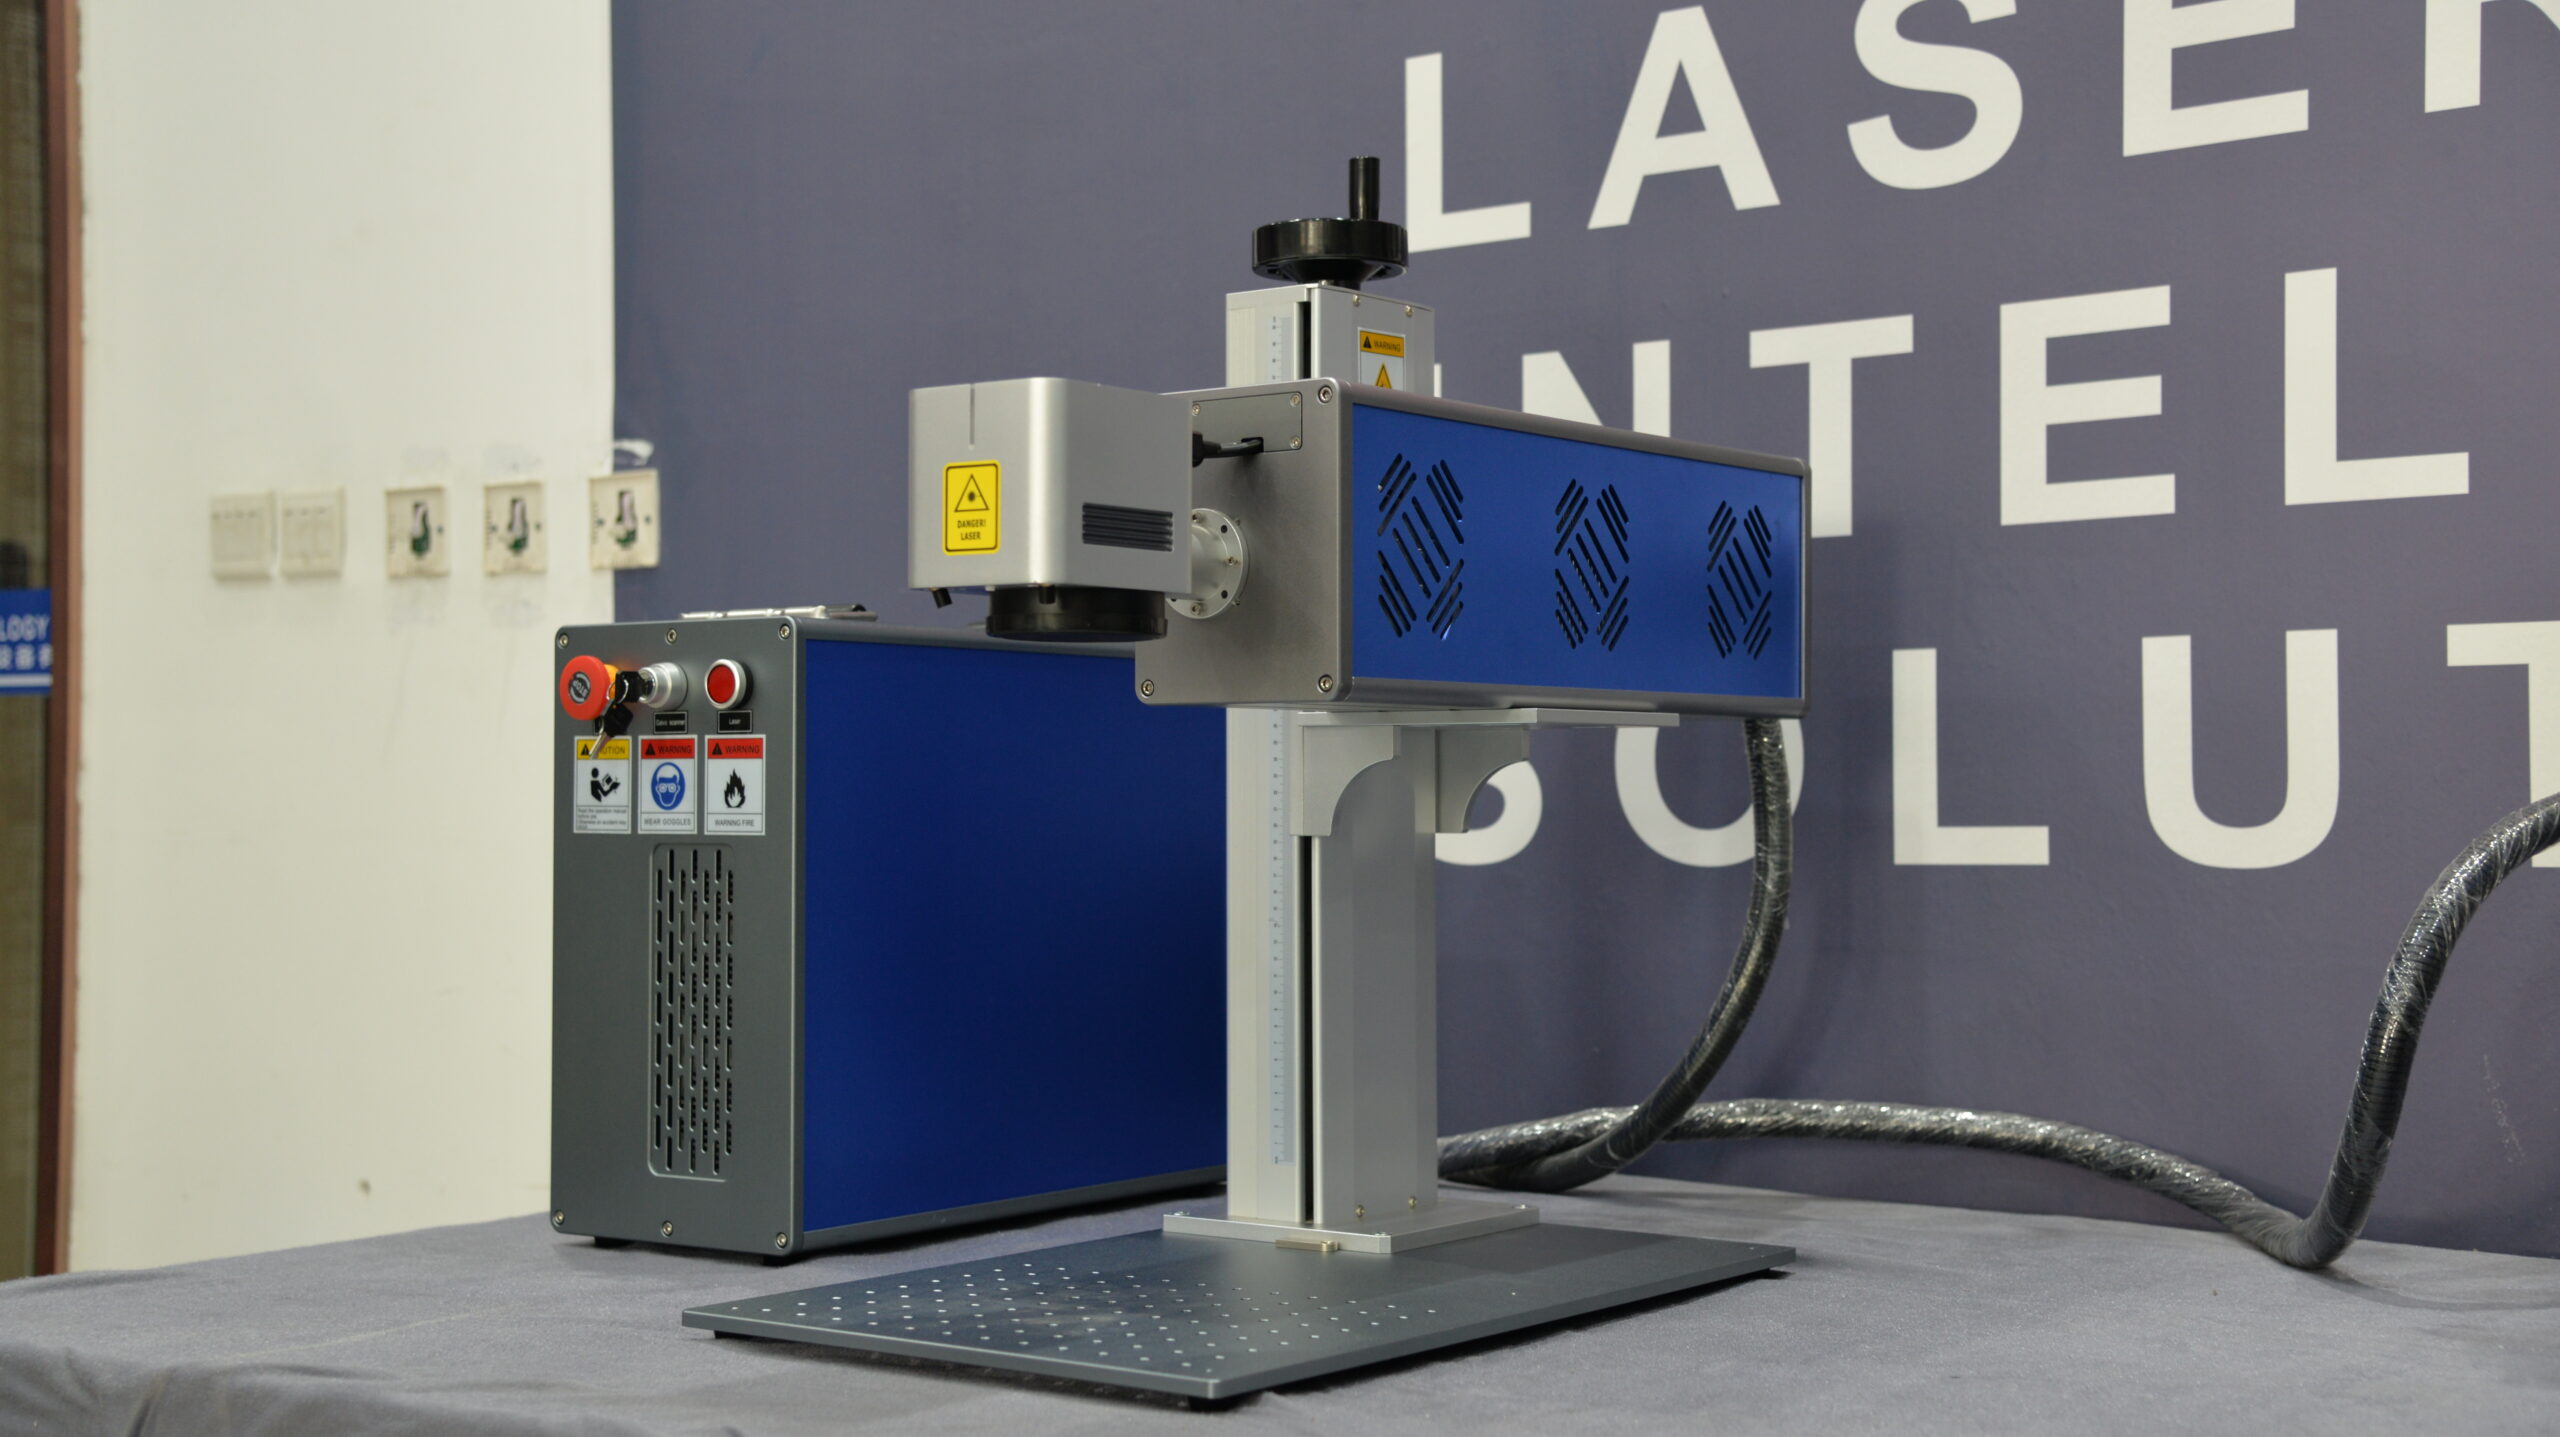
Focusing: This is a critical step for mark quality. Use the manual Z-axis adjustment or the automated focus tool to position the laser head at the optimal focal point. A properly focused laser produces the sharpest, most consistent mark.
Step 3: Software Setup & Job Loading
-
Open Marking Software: Launch the dedicated software on your connected PC.
-
Design or Load File: Create a new design with text, serial numbers, barcodes, or import an existing vector file (e.g., .DXF, .AI). Set the marking parameters (speed, power, frequency, number of passes) based on the material. Tip: Use saved parameter presets for common materials to save time.
-
Positioning: Use the software’s red pointer light to visually pinpoint exactly where the mark will be applied. Adjust the X and Y coordinates as needed.
Step 4: Execution & Verification
-
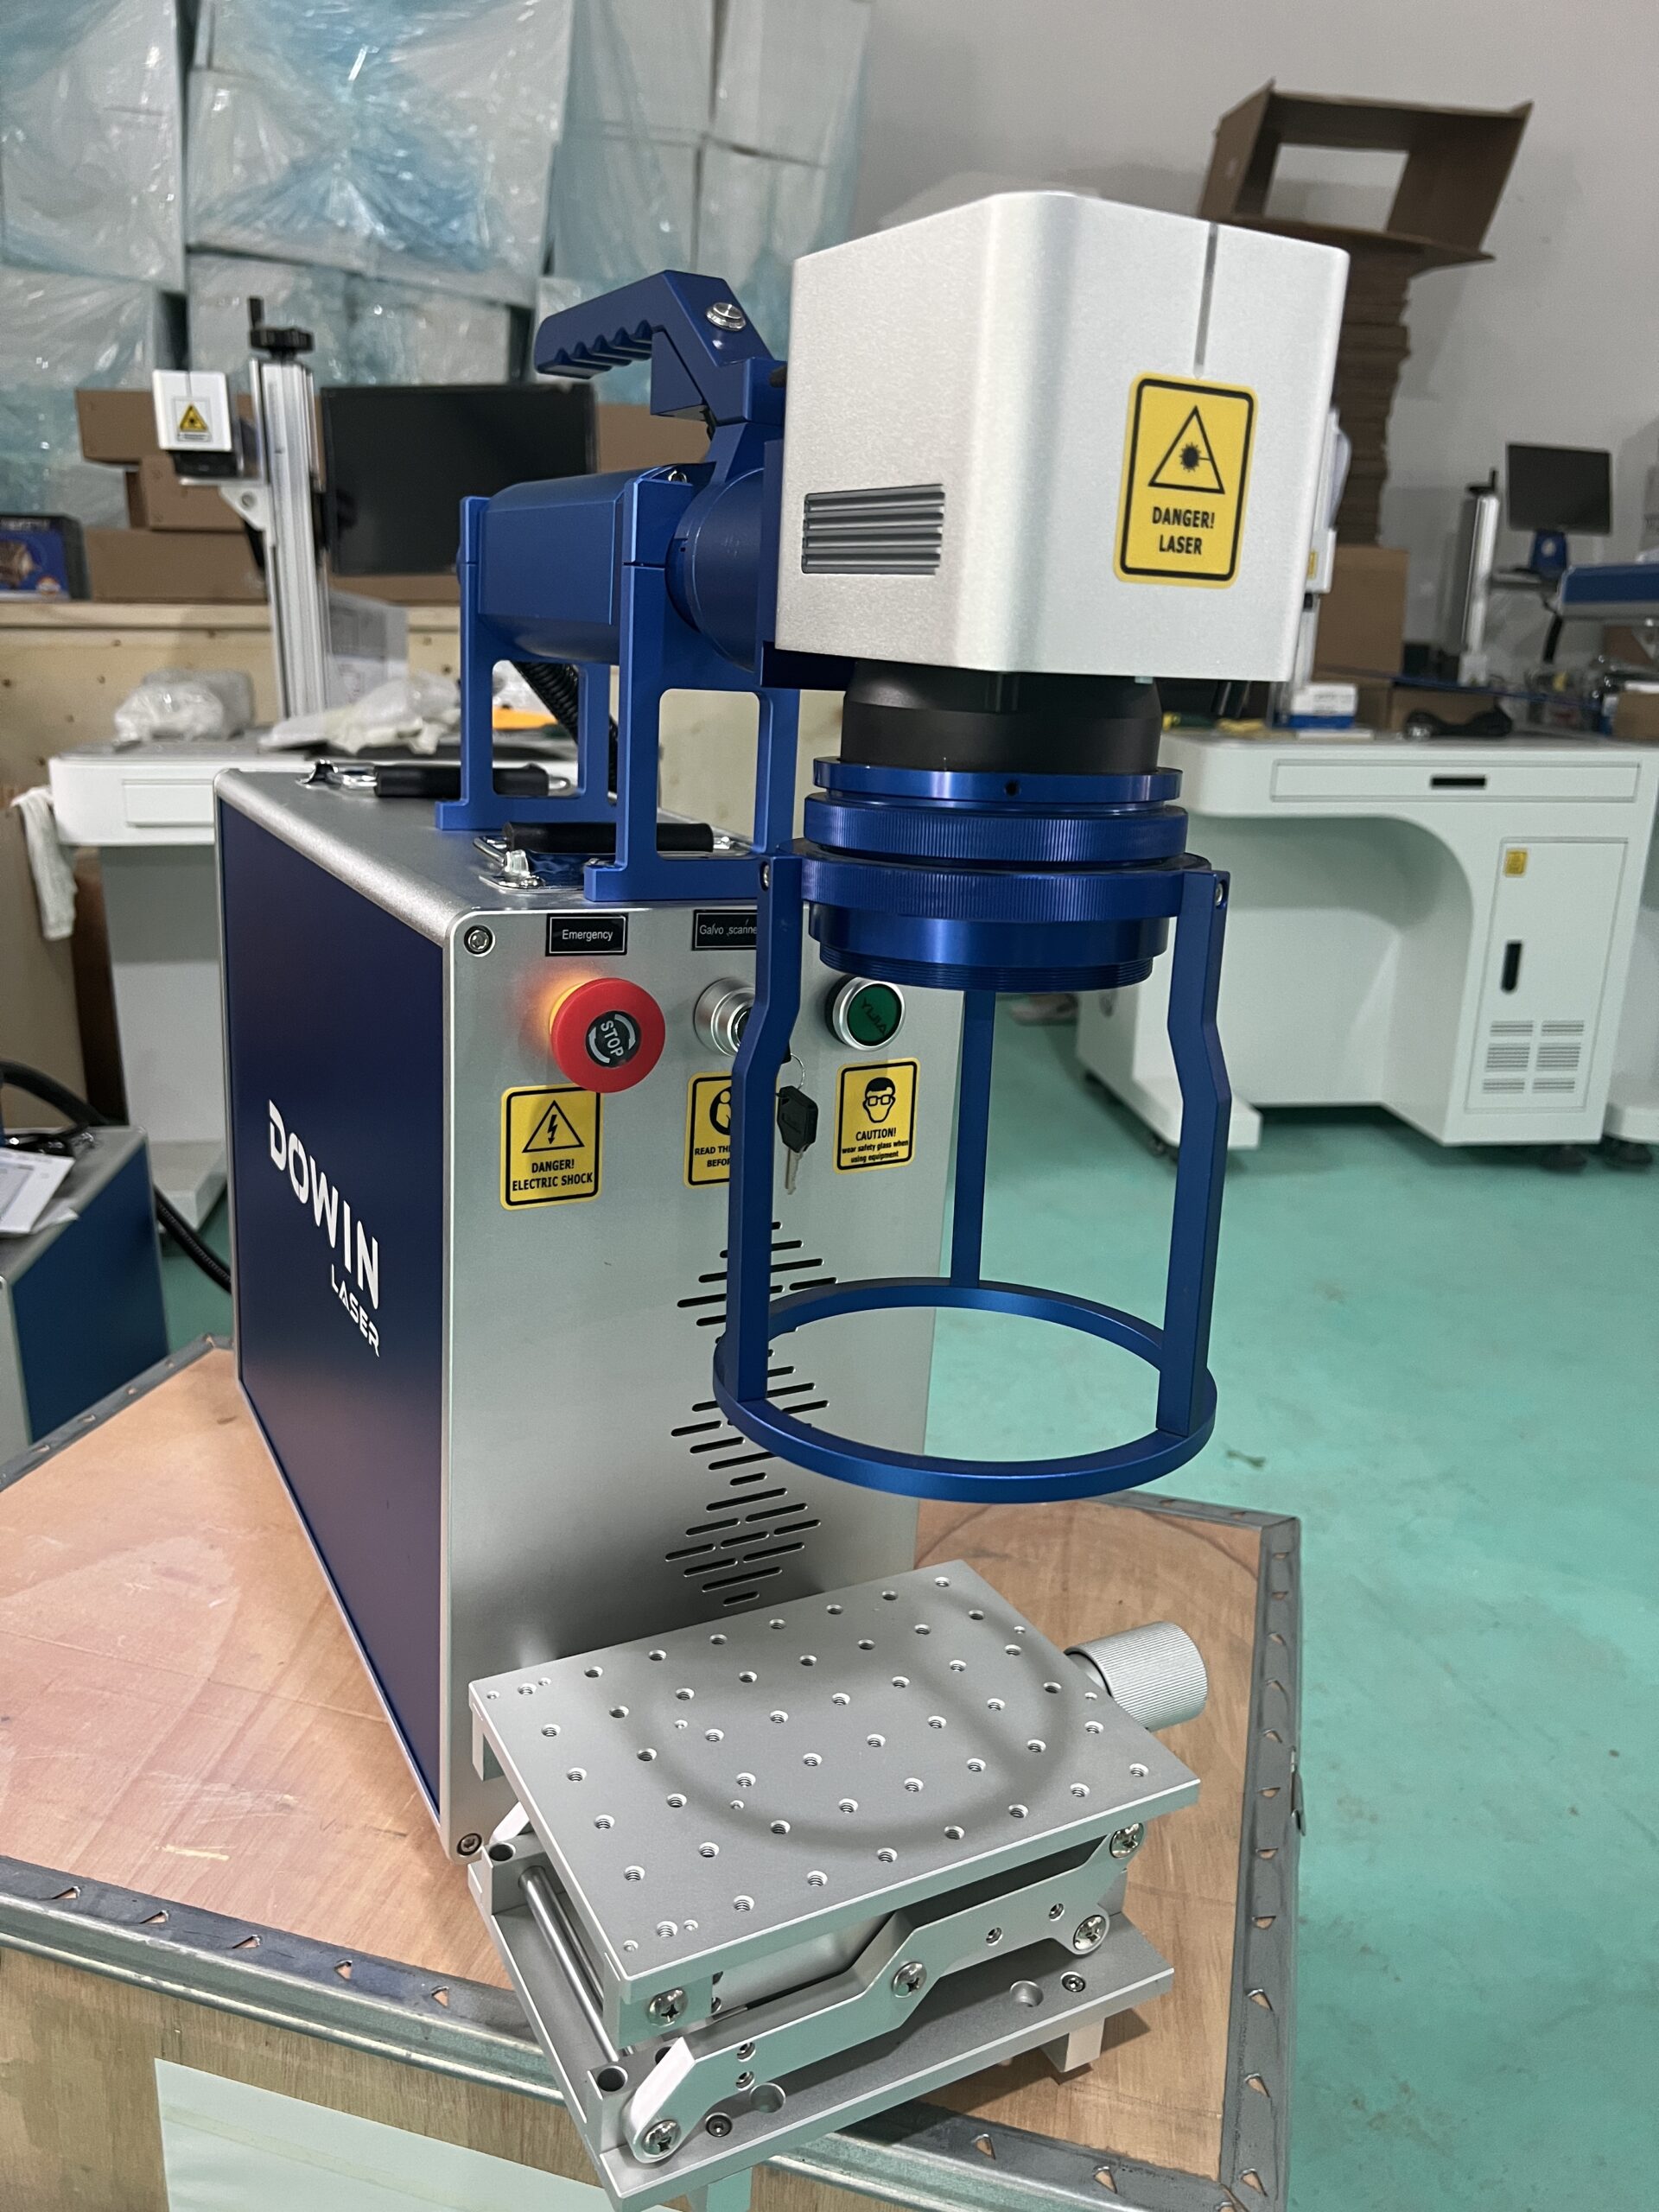
Start Marking: Close the protective cover and initiate the marking cycle via the software or the machine’s start button.
-
Inspect First Article: Always check the first marked piece for quality—clarity, contrast, depth, and positioning. Adjust parameters if necessary before running a full batch.
Step 5: Shutdown
-
After completing the day’s work, follow the reverse power-down sequence: turn off the laser marker first, then the chiller, and finally the main power.
-
Clean the worktable and surrounding area.
Part 2: Preserving Your Investment – A Simple Maintenance Guide
Proactive maintenance prevents unexpected downtime and ensures consistent mark quality. Fiber lasers are low-maintenance, but not no-maintenance.
Daily Maintenance (5 Minutes)
-
Cleaning: Power down the system. Use lens paper or a cotton swab with a small amount of high-purity alcohol (90%+ isopropyl) to gently clean the protective window (the clear lens under the laser head). This prevents dust and fumes from blocking the laser beam. Never touch optical components with your fingers.
-
Visual Inspection: Check for any obvious signs of damage, loose cables, or unusual debris inside the machine.
-
Check Chiller: Ensure the water level is adequate and that there are no error codes on the chiller display.
Weekly / Monthly Maintenance (15-30 Minutes)
-
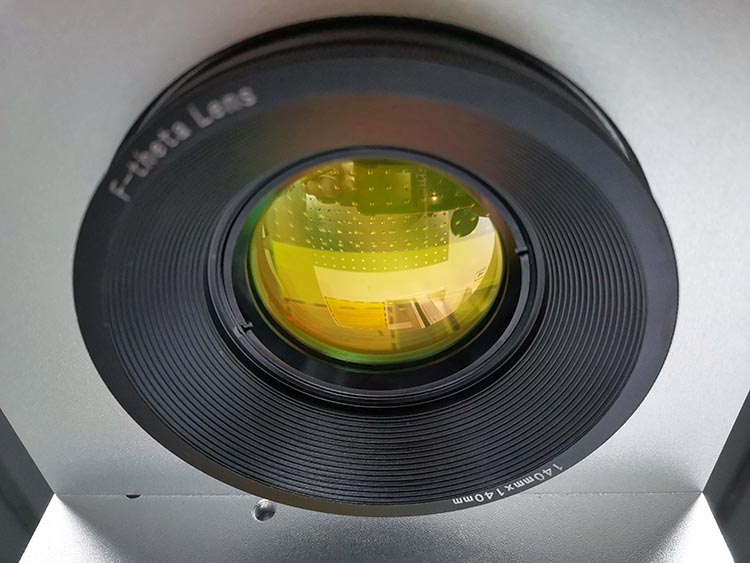
Deep Cleaning: Carefully clean the field lens (the larger focusing lens). Follow the same gentle method with lens paper and alcohol. Avoid scratching the coated surface.
-
Check Air Path: If your system uses air assist, ensure the airline and nozzle are clear of blockages.
-
Mechanical Inspection: Check for any looseness in the X-Y galvanometer scanner module or other moving parts (if applicable).
Annual Maintenance
-
Professional Service: It is highly recommended to have a qualified engineer perform an annual check-up. This includes:
-
Inspecting internal optical paths.
-
Checking the calibration of the laser source and scanners.
-
Testing chiller performance and coolant purity (replacing coolant if necessary).
-
Updating system software and firmware.
-
Key (Dos and Don’ts)
-
DO always use the correct focal distance.
-
DO let the chiller run for a few minutes after shutting down the laser if the unit is still warm.
-
DO keep the operating environment clean and at a stable temperature.
-
DON’T run the laser marker without the cooling system operational.
-
DON’T point the laser head at anyone or any reflective surface, even when just the red pointer is on.
-
DON’T use compressed air to clean optical lenses, as it can leave residue or scratch the coating.
Conclusion: Consistency is Key
The fiber laser marking machine is a dependable partner in your manufacturing process. By integrating these simple operational and maintenance steps into your routine, you safeguard its performance, ensure flawless mark quality day after day, and protect the longevity of your valuable equipment.
Ready to Perfect Your Process?
Contact our support team for detailed maintenance schedules or operator training to keep your fiber laser marker running at peak performance.