The Versatile Performer: Your Guide to Operating and Maintaining a CO2 Laser Marking Machine
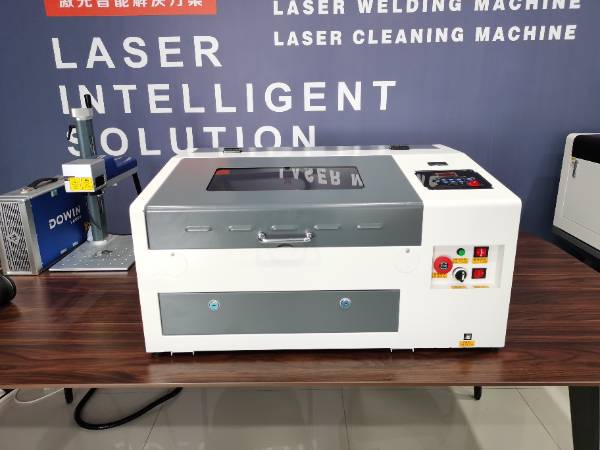
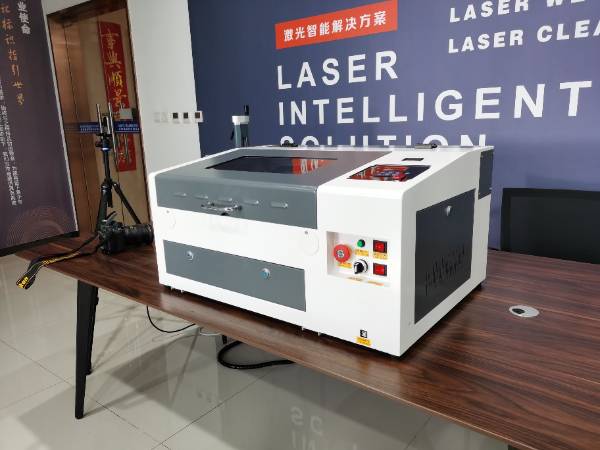
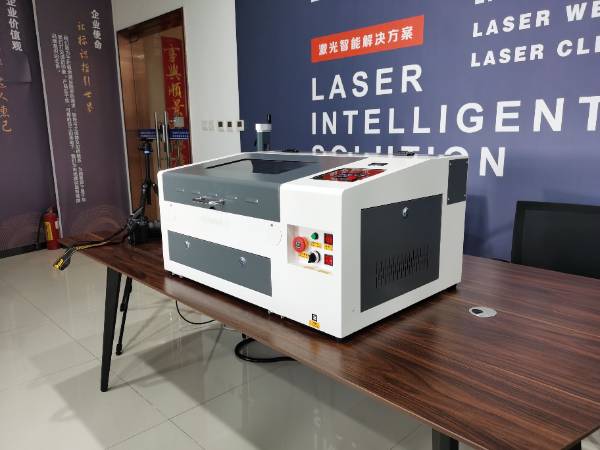
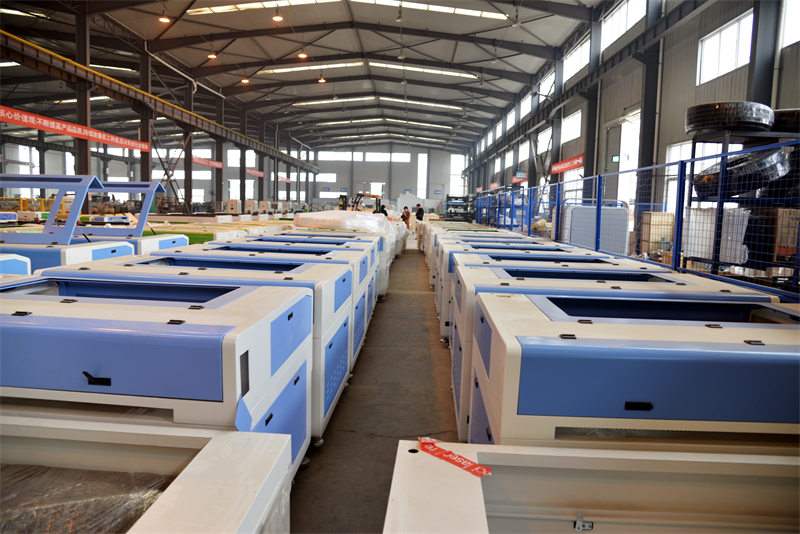
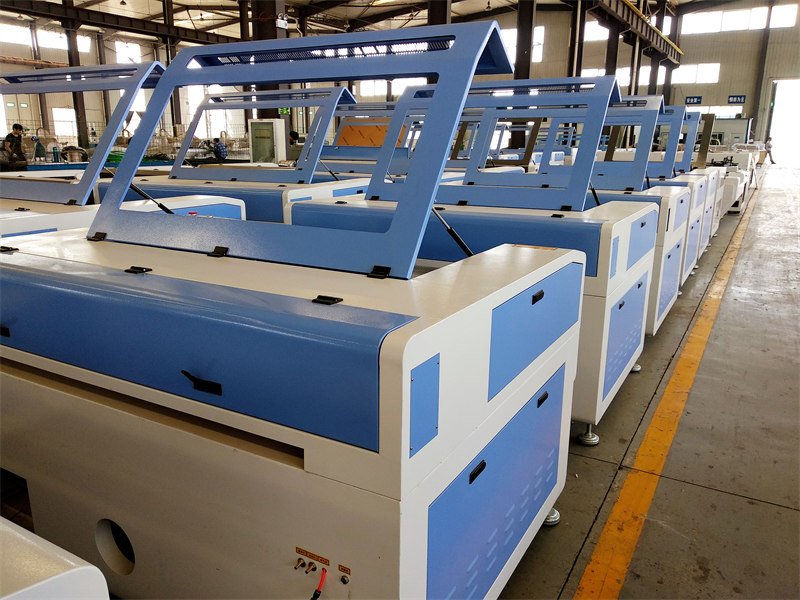
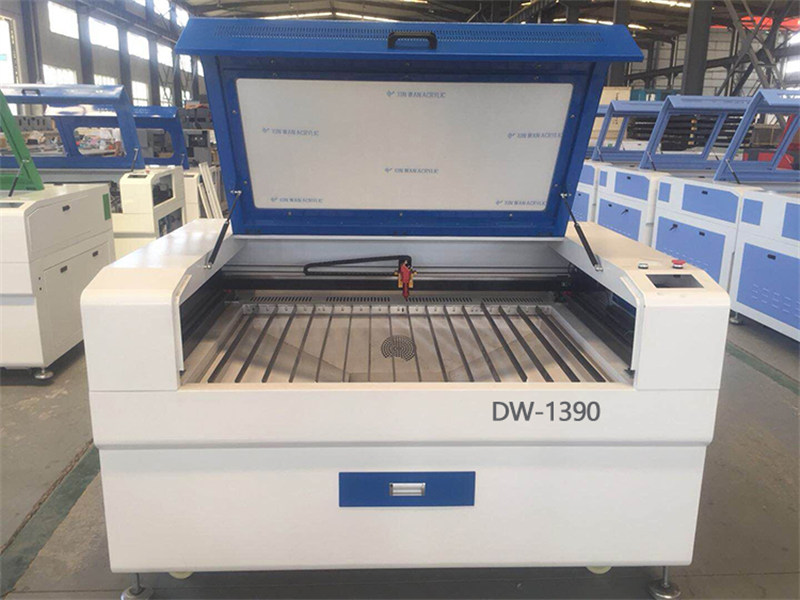
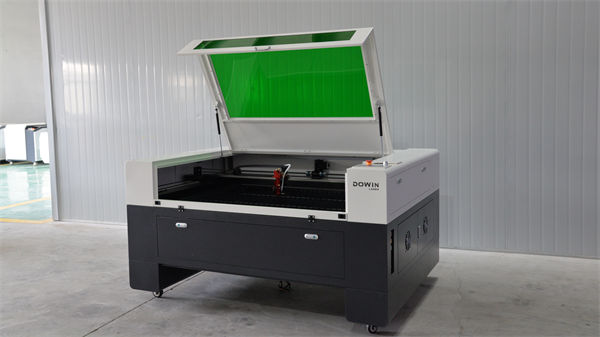
The CO2 laser marking machine stands as the industry’s preferred solution for processing non-metallic materials, from acrylic and wood to glass and plastics. While known for their reliability and versatility, these systems require specific operational knowledge and consistent care to maintain optimal performance. This comprehensive guide covers both the daily operation and essential maintenance of your CO2 laser marking system.
Part 1: The Operational Workflow – How to Use Your CO2 Laser Marker
Operating a CO2 laser system involves specific steps to ensure both quality results and equipment safety.
Step 1: Pre-Operation Preparation
-
Environment Check: Ensure adequate ventilation is available. CO2 laser processing often produces fumes that require proper extraction. Verify the work area is clean and free of reflective materials.
-
Cooling System Activation: Start the cooling system (air-cooled fan or water chiller) and allow it to stabilize. Proper cooling is crucial for CO2 laser tube longevity.
-
Power Sequence: Turn on the main power, followed by the control system. Allow the laser tube to warm up for 2-3 minutes if the environment is cool or humid.
Step 2: Material Setup & Configuration
-
Material Compatibility: Confirm your material is suitable for CO2 laser processing. Test unknown materials on a small area first.
-
Workpiece Fixturing: Secure the material firmly, ensuring it is flat and level. Use non-reflective fixtures when possible.
-
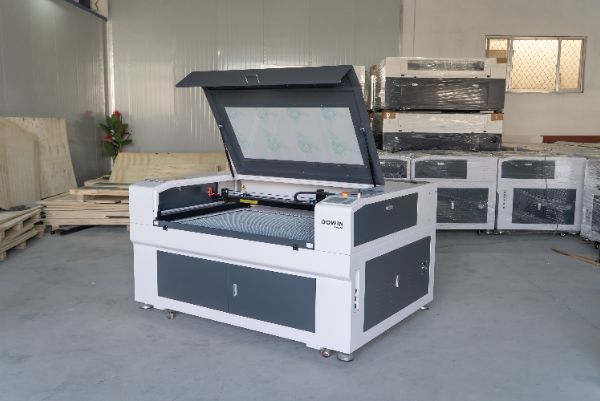
Focal Distance Adjustment: Precisely adjust the laser head to the correct focal distance using the manual Z-axis or automatic focusing system. Proper focusing is critical for mark quality and efficiency.
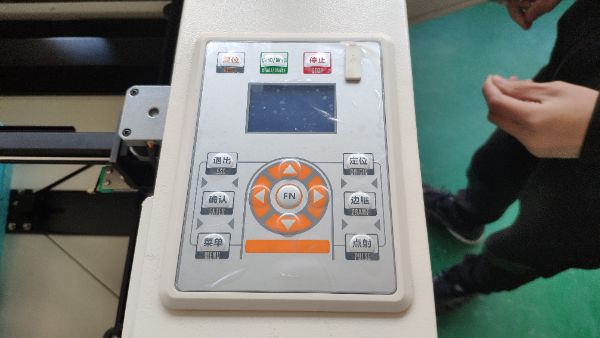
Step 3: Software Setup & Parameter Selection
-
Parameter Optimization: Set appropriate parameters based on your material:
-
Power: 20-80% (depending on material density and desired effect)
-
Speed: 100-1000 mm/s
-
Frequency: 5-20 kHz (for marking applications)
Always start with conservative settings and gradually adjust.
-
-
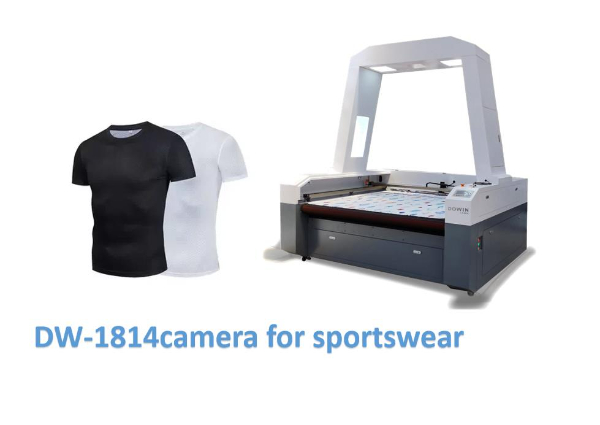
Design Preparation: Import or create your vector design file. CO2 lasers excel at processing complex graphics and fine details on non-metallic surfaces.
-
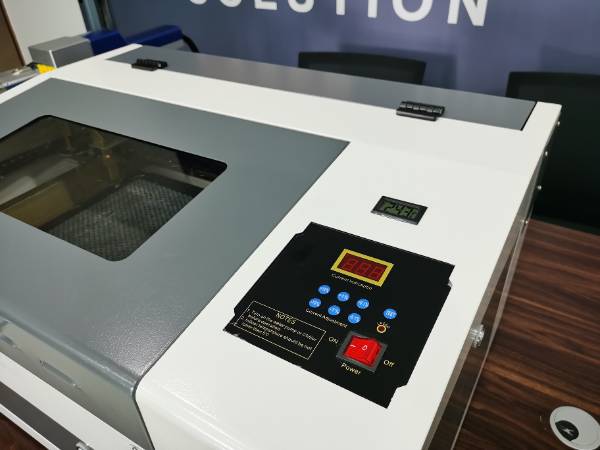
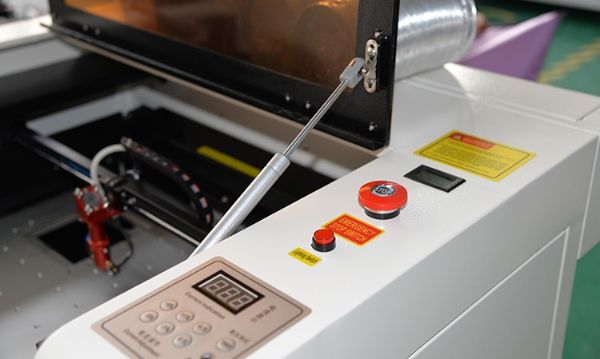
Position Verification: Use the red pointer light to confirm the marking location before starting the laser.
Step 4: Execution & Quality Control
-
Test Processing: Always perform a test mark on sample material to verify settings and positioning.
-
Production Run: Initiate the marking process once optimal results are achieved. Monitor the initial pieces for consistency.
-
Ventilation Monitoring: Ensure the fume extraction system is functioning properly throughout the process.
Step 5: Shutdown Procedure
-
Complete all processing tasks and ensure the laser is idle.
-
Power down the laser system first, then the cooling system.
-
Clean the work area, removing any debris or residue.
Part 2: Essential Maintenance – Keeping Your CO2 Laser in Peak Condition
Regular maintenance is crucial for consistent performance and extended equipment life.
Daily Maintenance (5-10 minutes)
-
Lens Cleaning: Gently clean the focusing lens with lens tissue and optical-grade alcohol. Use a fresh tissue for each wipe, moving from center to edge.
-
Mirror Inspection: Check the first reflecting mirror for dust or debris. Clean if necessary using appropriate methods.
-
Work Area Cleaning: Remove any debris from the work area and ventilation paths.
-
Cooling System Check: Verify proper operation of the cooling system and clean any visible dust from heat sinks.
Weekly Maintenance (15-30 minutes)
-
Thorough Optical Cleaning: Carefully clean all accessible optical components including mirrors and lenses.
-
Ventilation System Check: Inspect and clean the fume extraction system components.
-
Mechanical Inspection: Check all moving parts for smooth operation and lubricate if necessary.
-
Laser Path Alignment: Verify the laser beam alignment according to manufacturer specifications.
Monthly Maintenance (30-60 minutes)
-
Detailed Optical Inspection: Examine all optical components for scratches or degradation.
-
Cooling System Maintenance: Check coolant levels and quality (for water-cooled systems). Replace if necessary.
-
Electrical Connections: Verify all connections are secure and free from corrosion.
-
Rail and Guide Maintenance: Clean and lubricate linear guides and transmission systems.
Quarterly/Annual Maintenance
-
Professional Service: Schedule comprehensive maintenance with qualified technicians for:
-
Laser tube performance testing
-
Optical system realignment
-
Power output calibration
-
Complete system diagnostics
-
Critical (Dos and Don’ts)
-
ALWAYS ensure proper ventilation before operation
-
ALWAYS use recommended cleaning materials and techniques
-
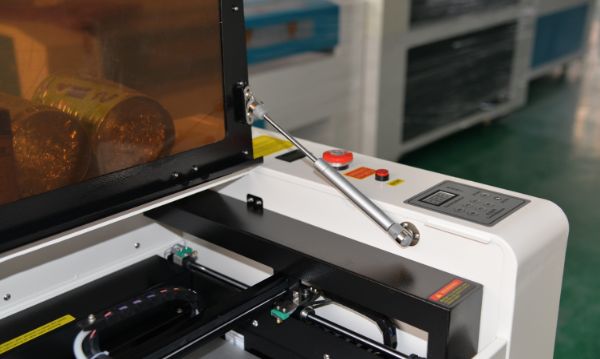
ALWAYS keep the laser cover closed during operation
-
NEVER operate without proper cooling systems active
-
NEVER touch optical components with bare hands
-
NEVER attempt to service high-voltage components yourself
Troubleshooting Common Issues
-
Decreased Marking Quality: Usually indicates dirty optics or need for beam alignment
-
Inconsistent Power Output: Often related to cooling system issues or aging laser tube
-
Positioning Errors: Typically caused by mechanical issues or drive system problems
Conclusion: Consistency Through Care
Your CO2 laser marking system offers unparalleled versatility for non-metal processing applications. By following these operational guidelines and maintenance practices, you ensure consistent performance, extend equipment lifespan, and protect your investment while maintaining the highest quality results.
Need Expert Support?
Contact our service team for detailed maintenance schedules, operator training, or professional service to keep your CO2 laser system performing at its best.