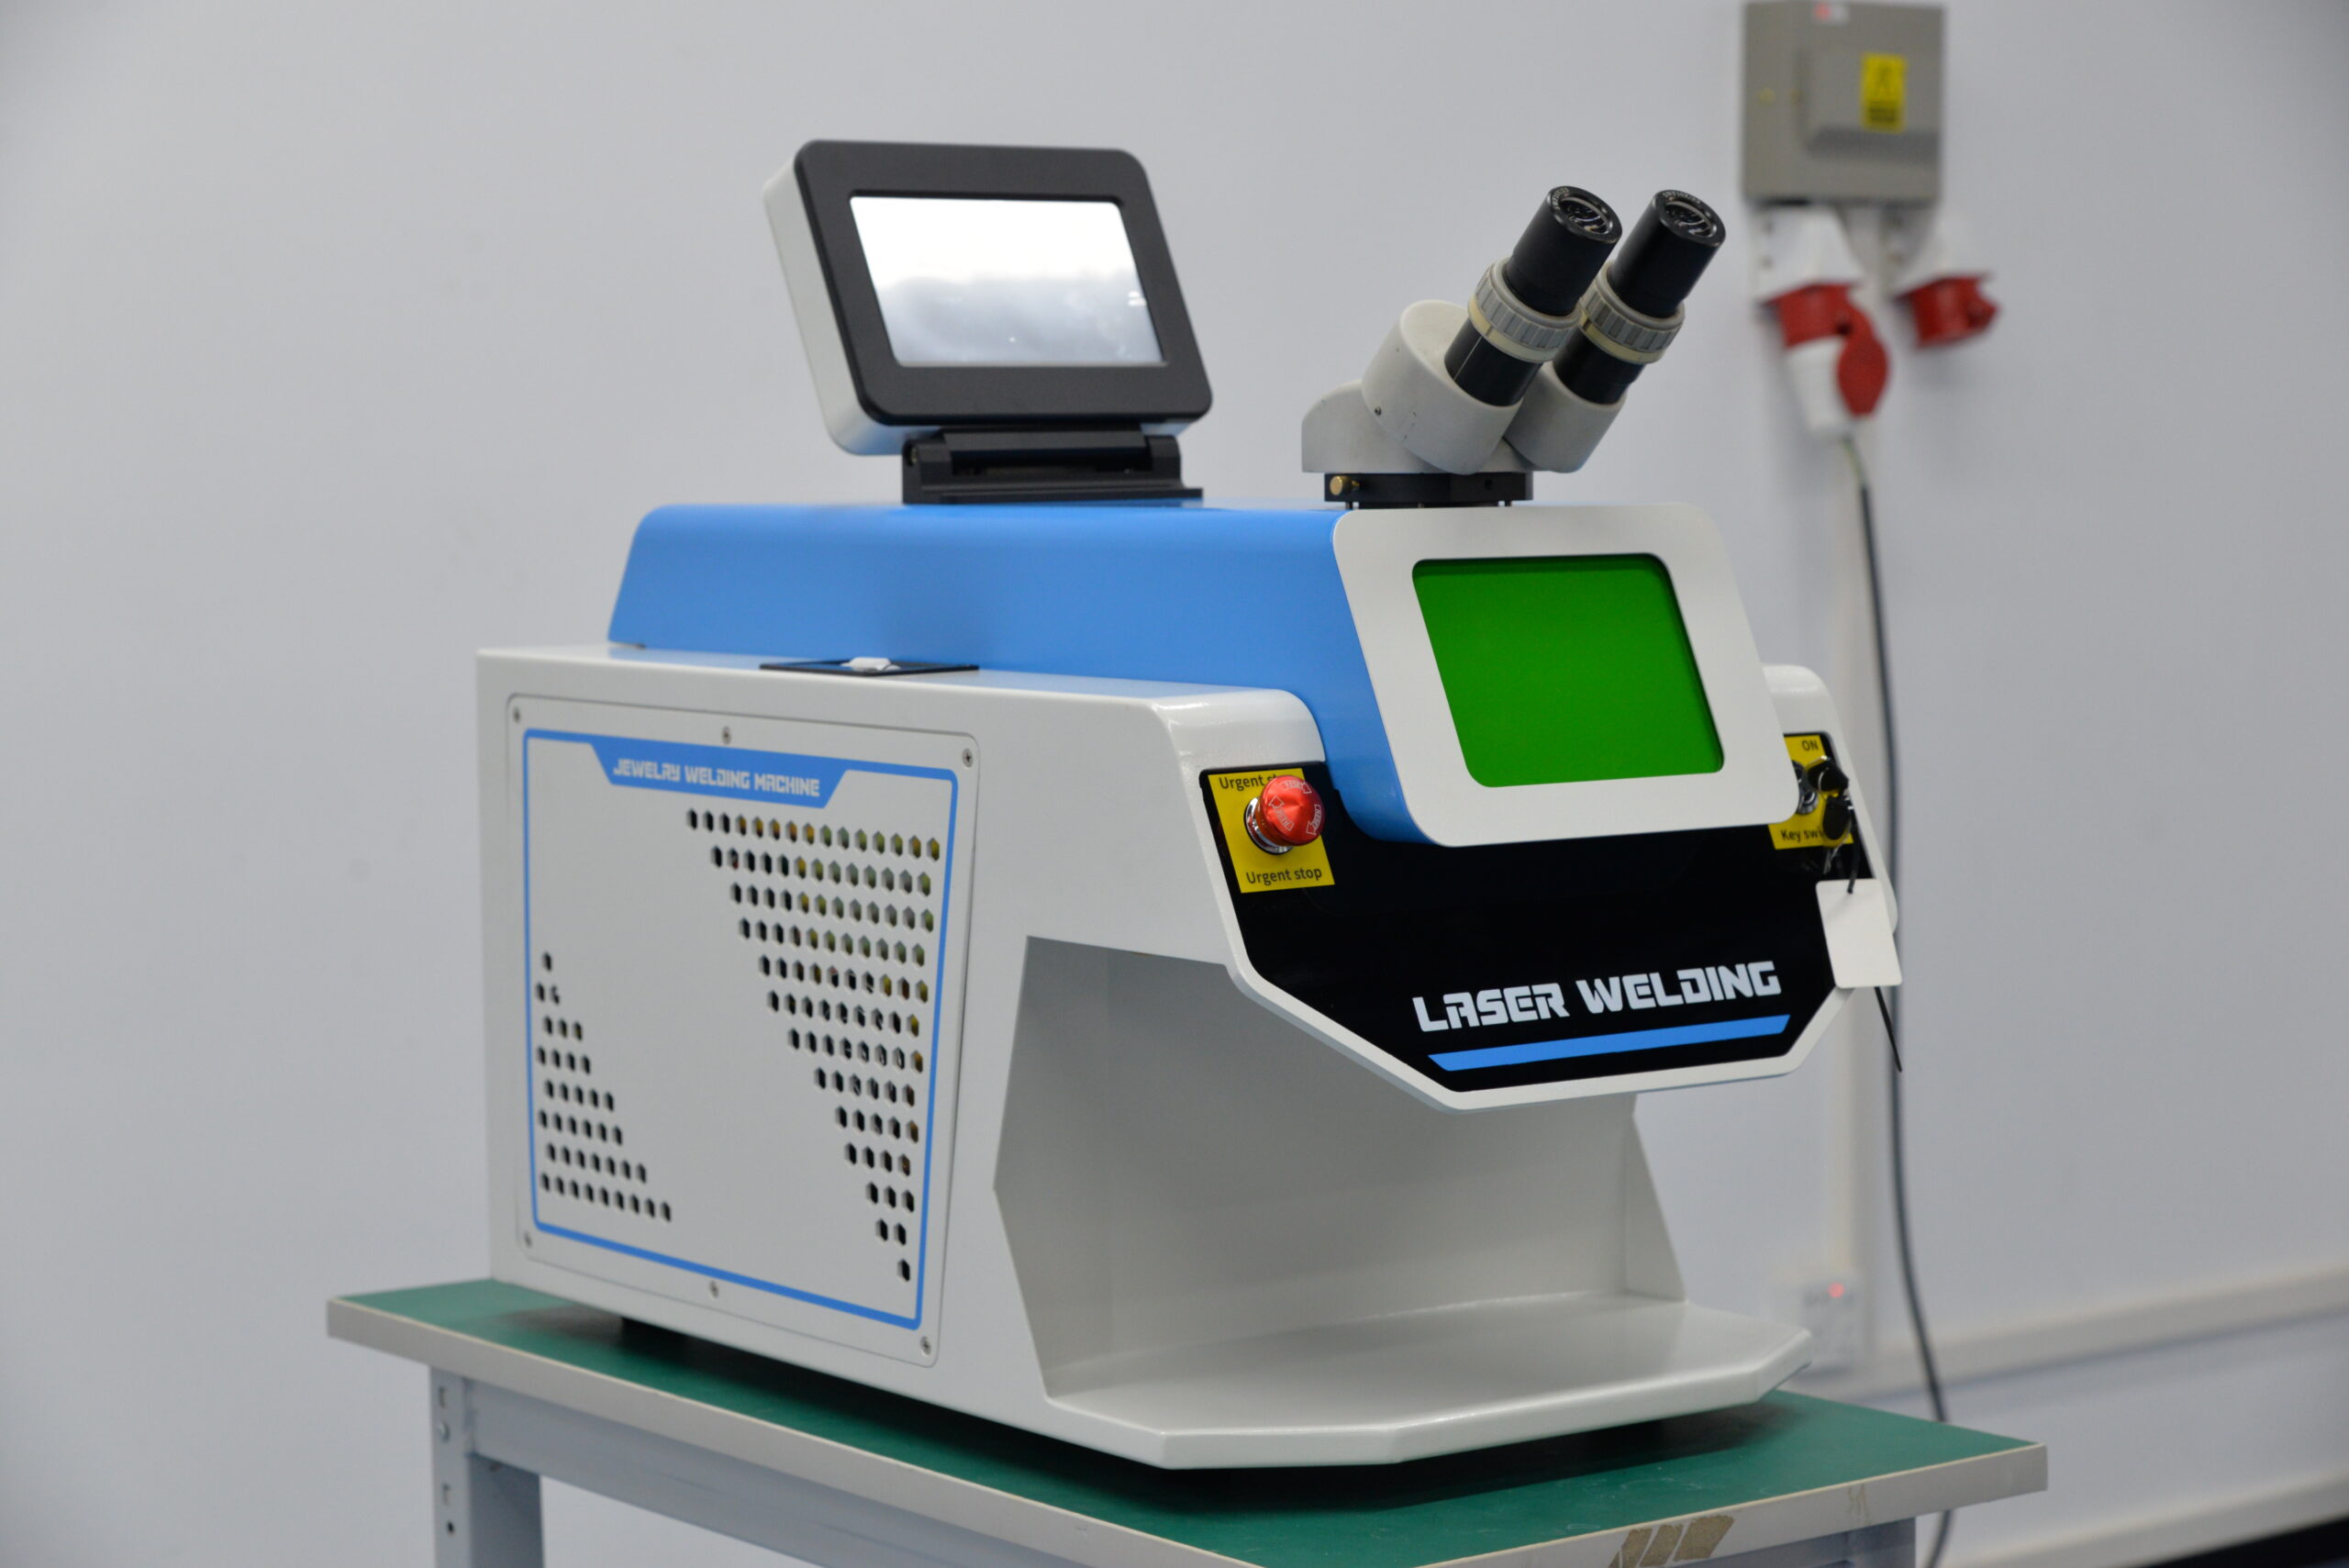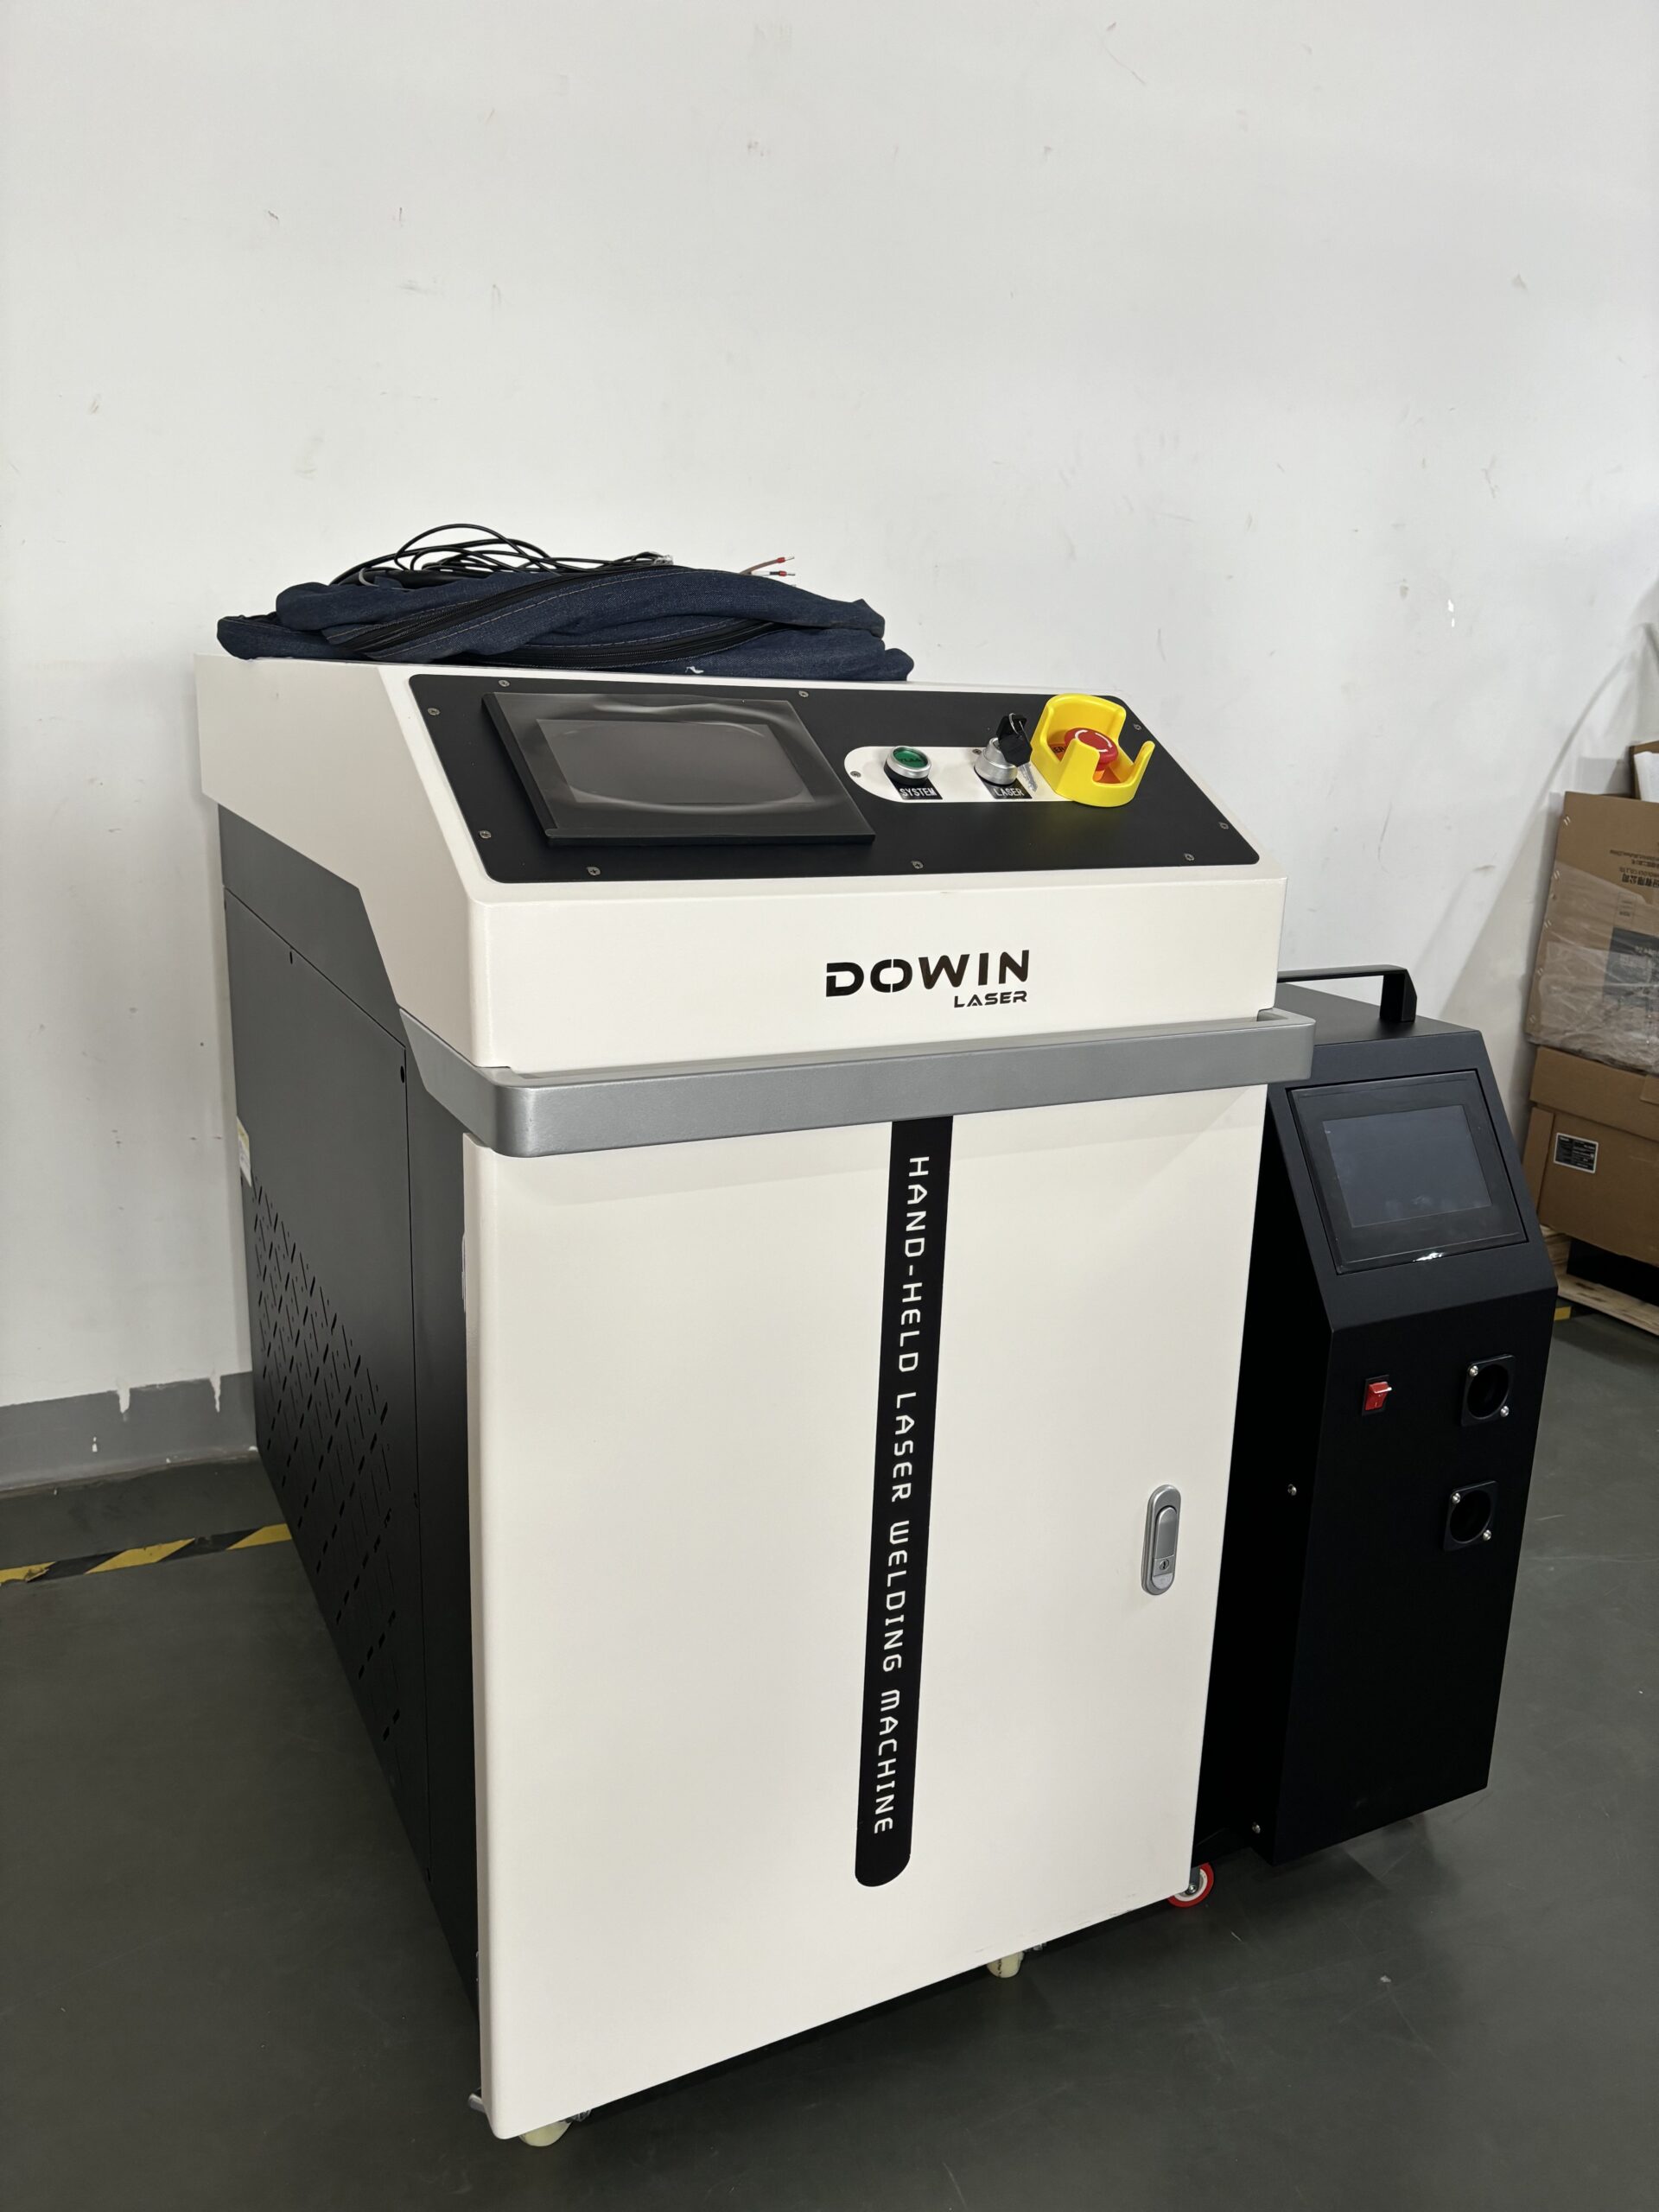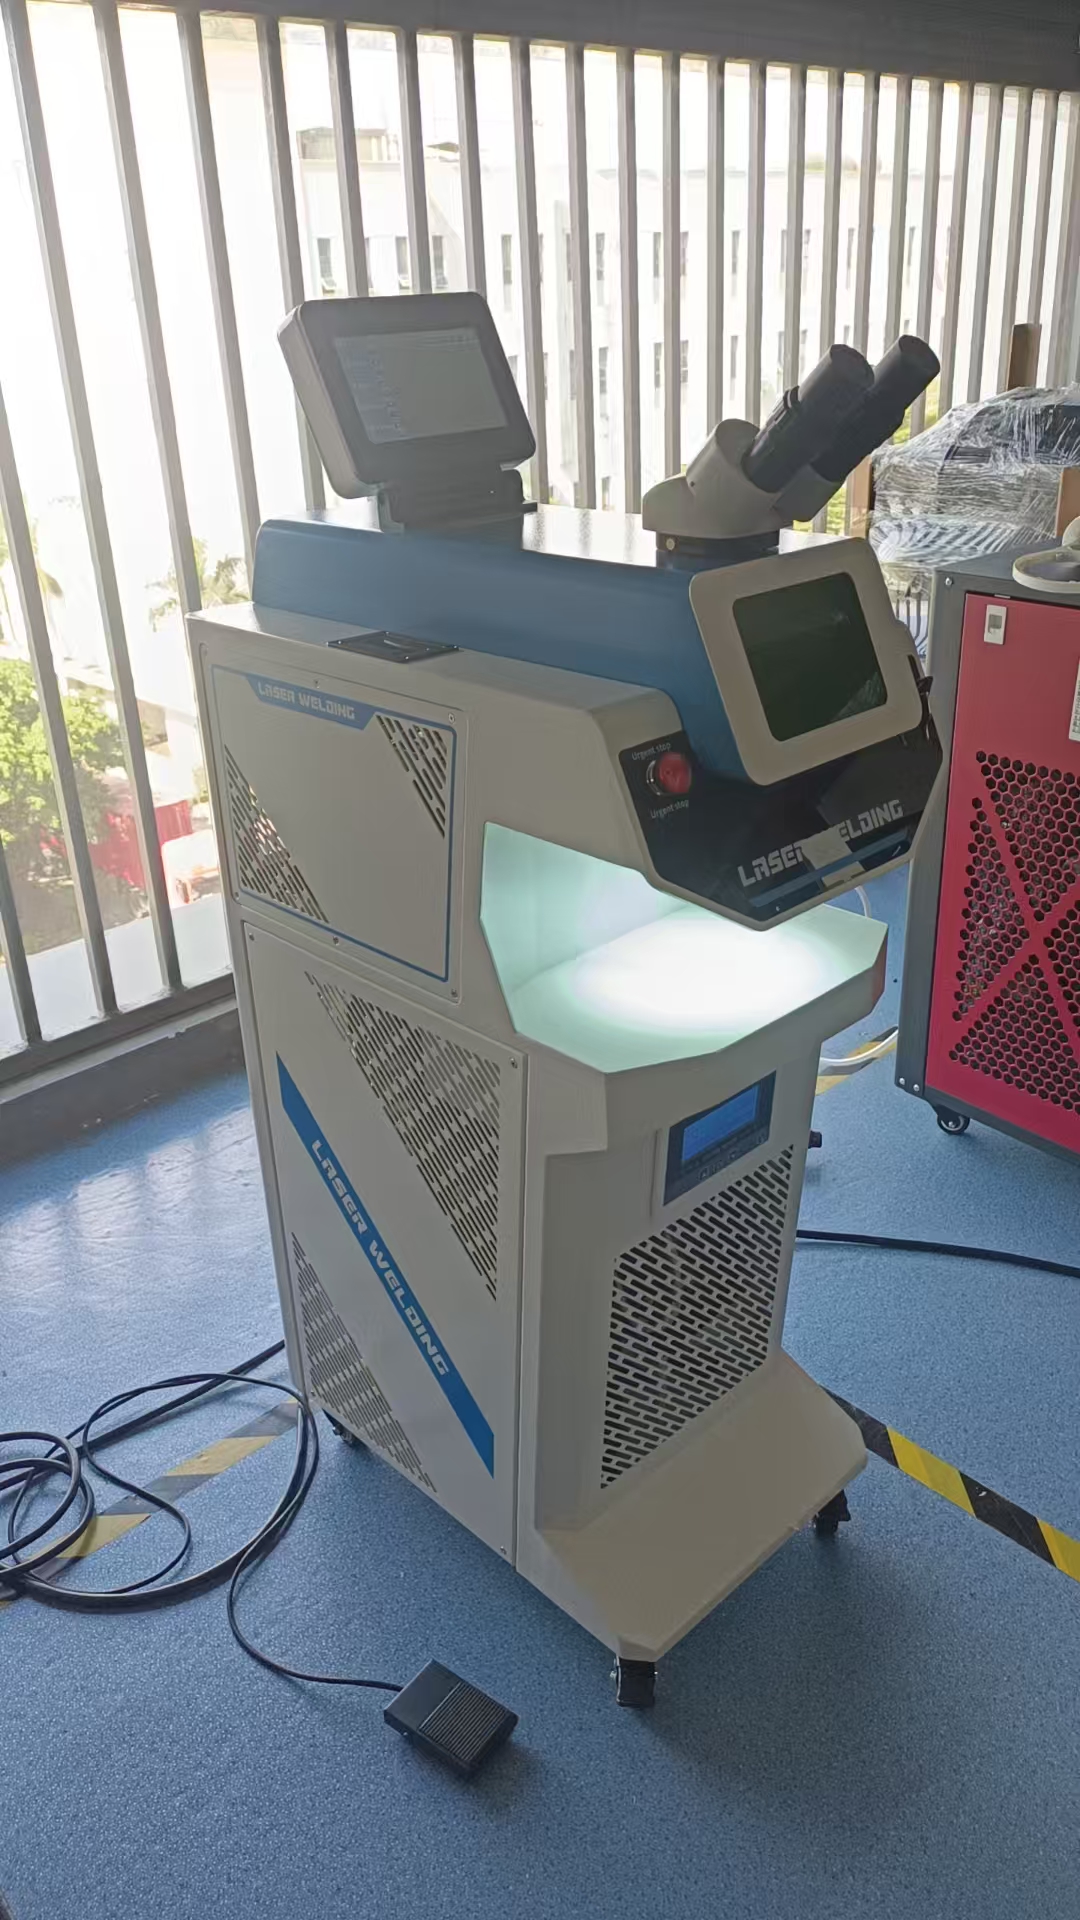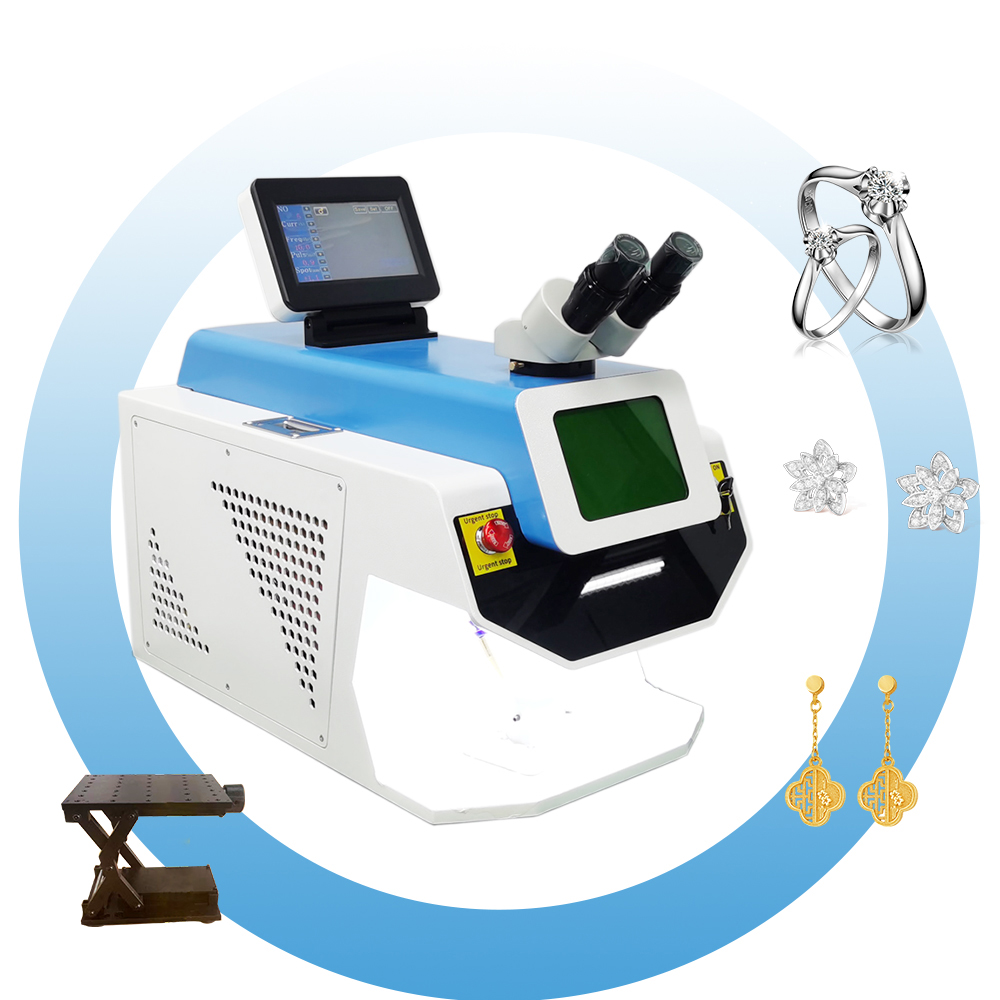
The Precision Art of Mold Repair: Operating and Maintaining Your YAG Laser Welding Machine
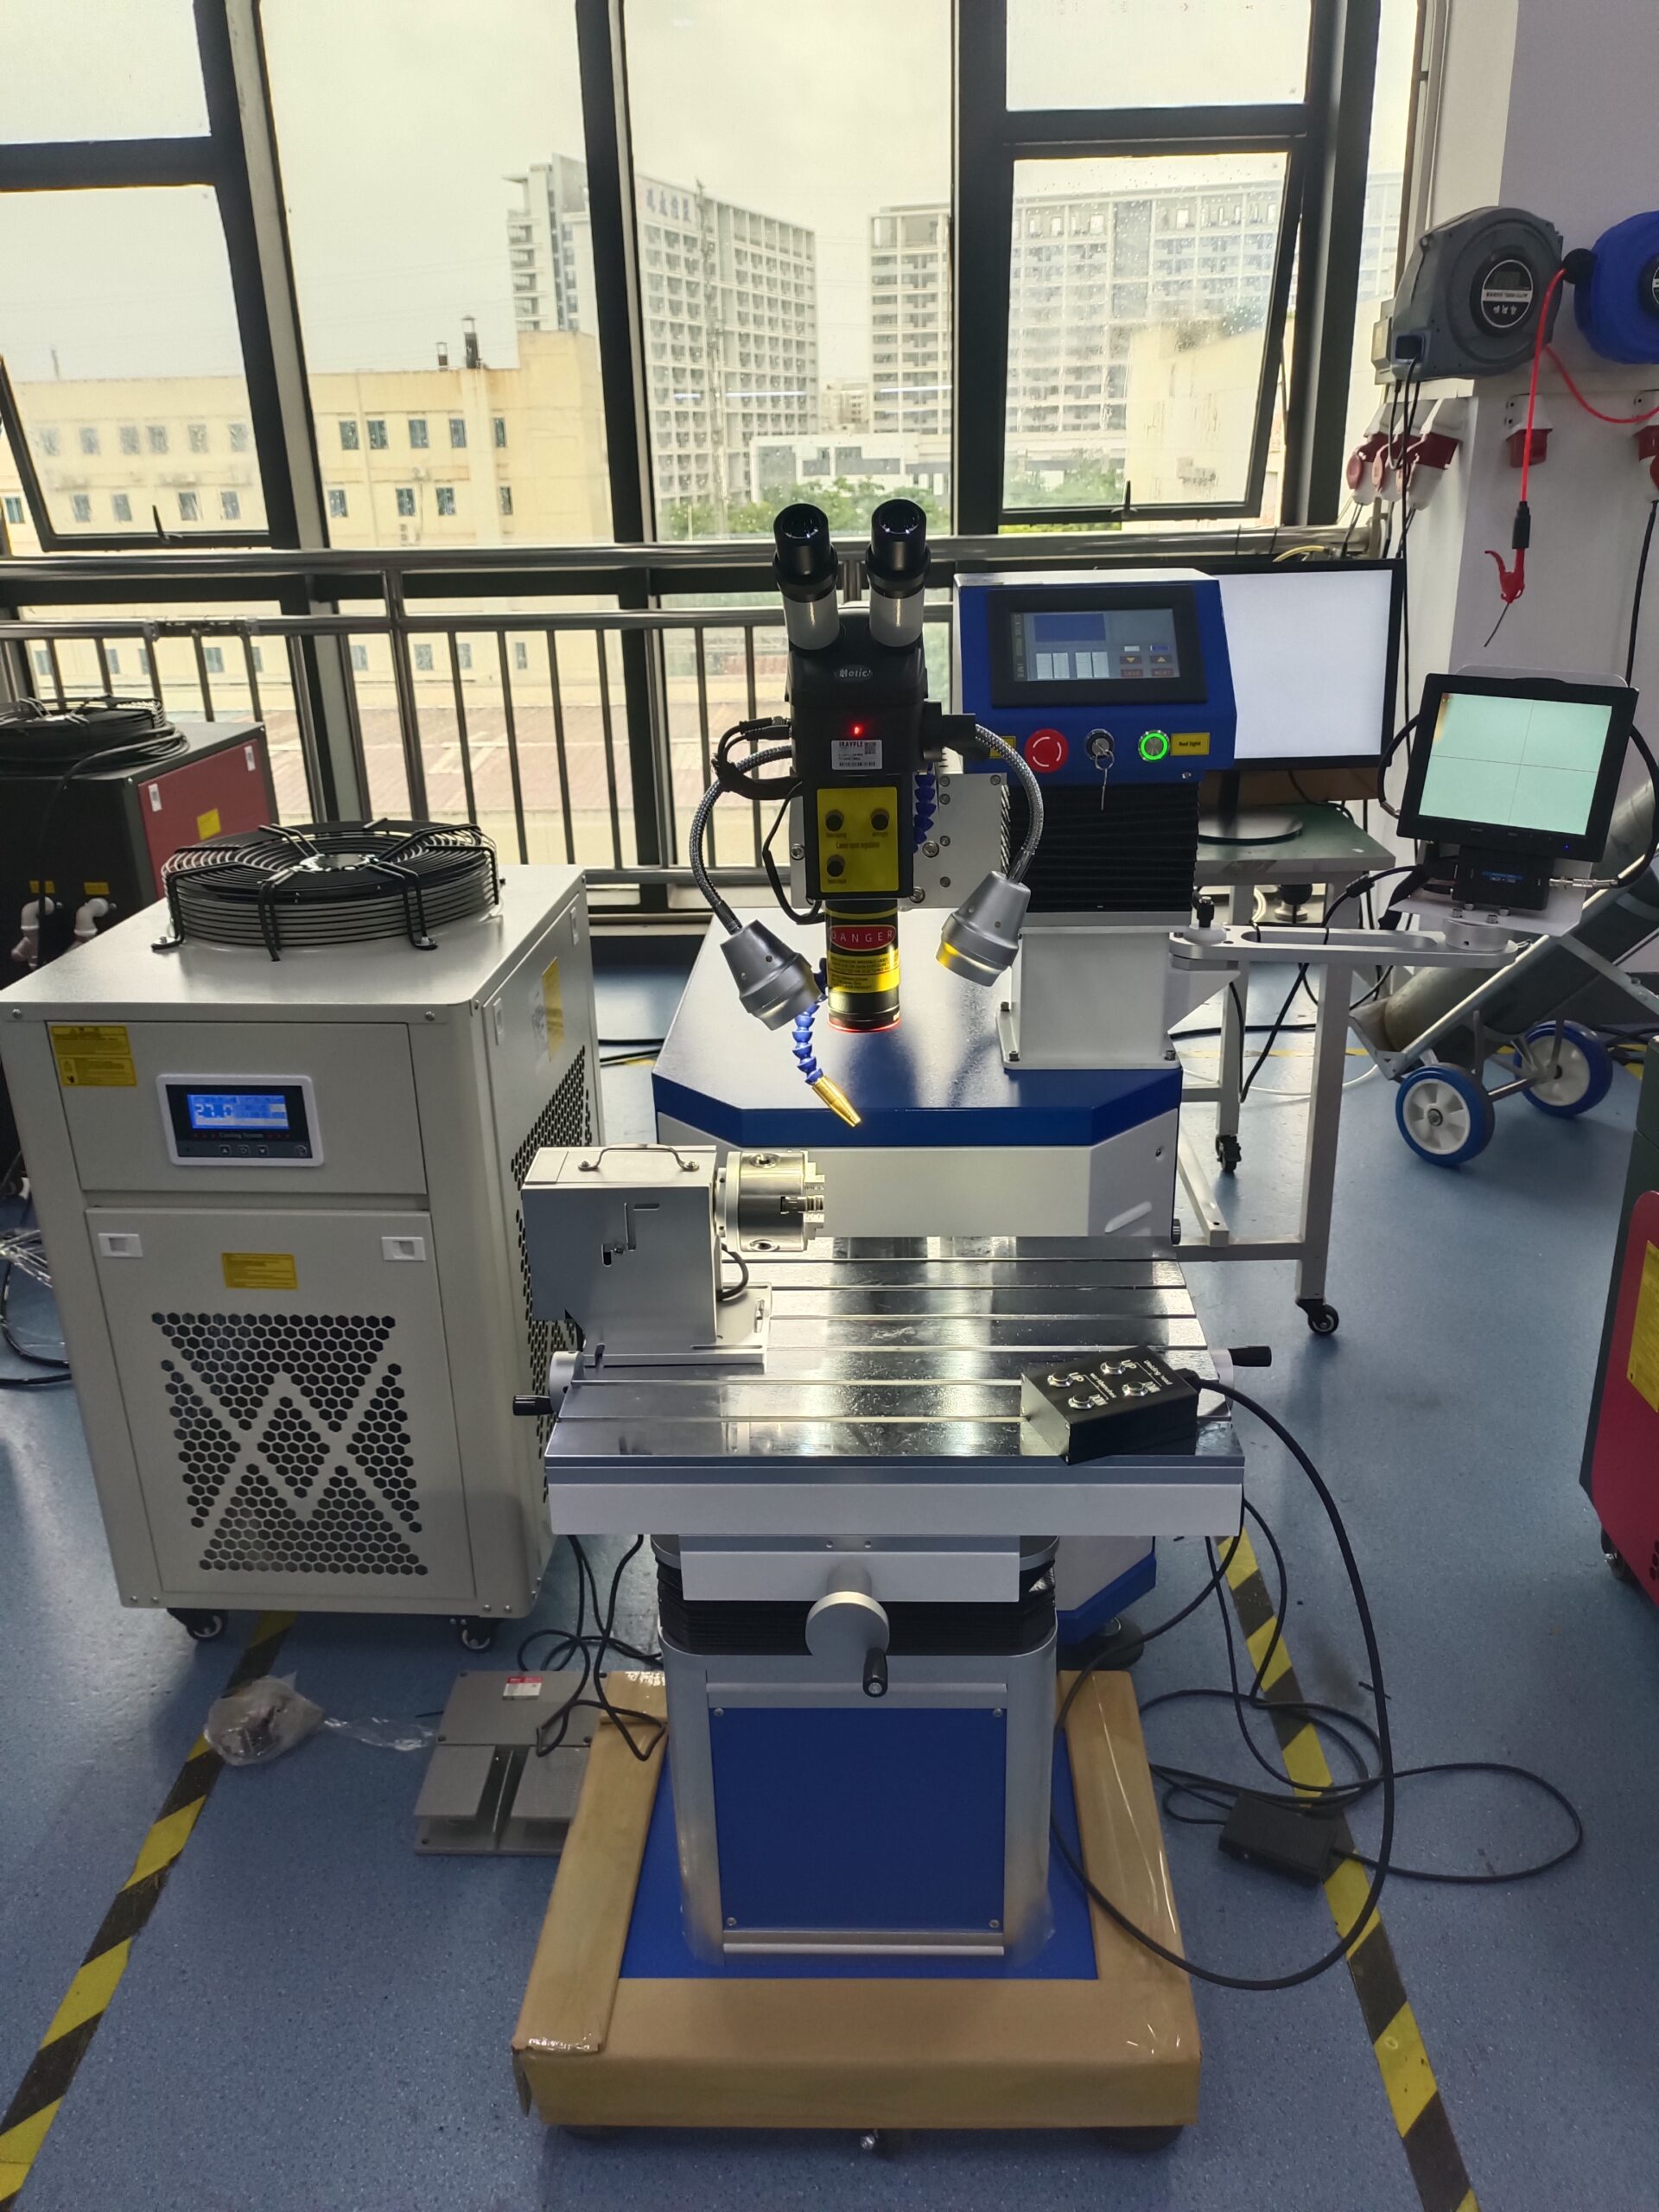
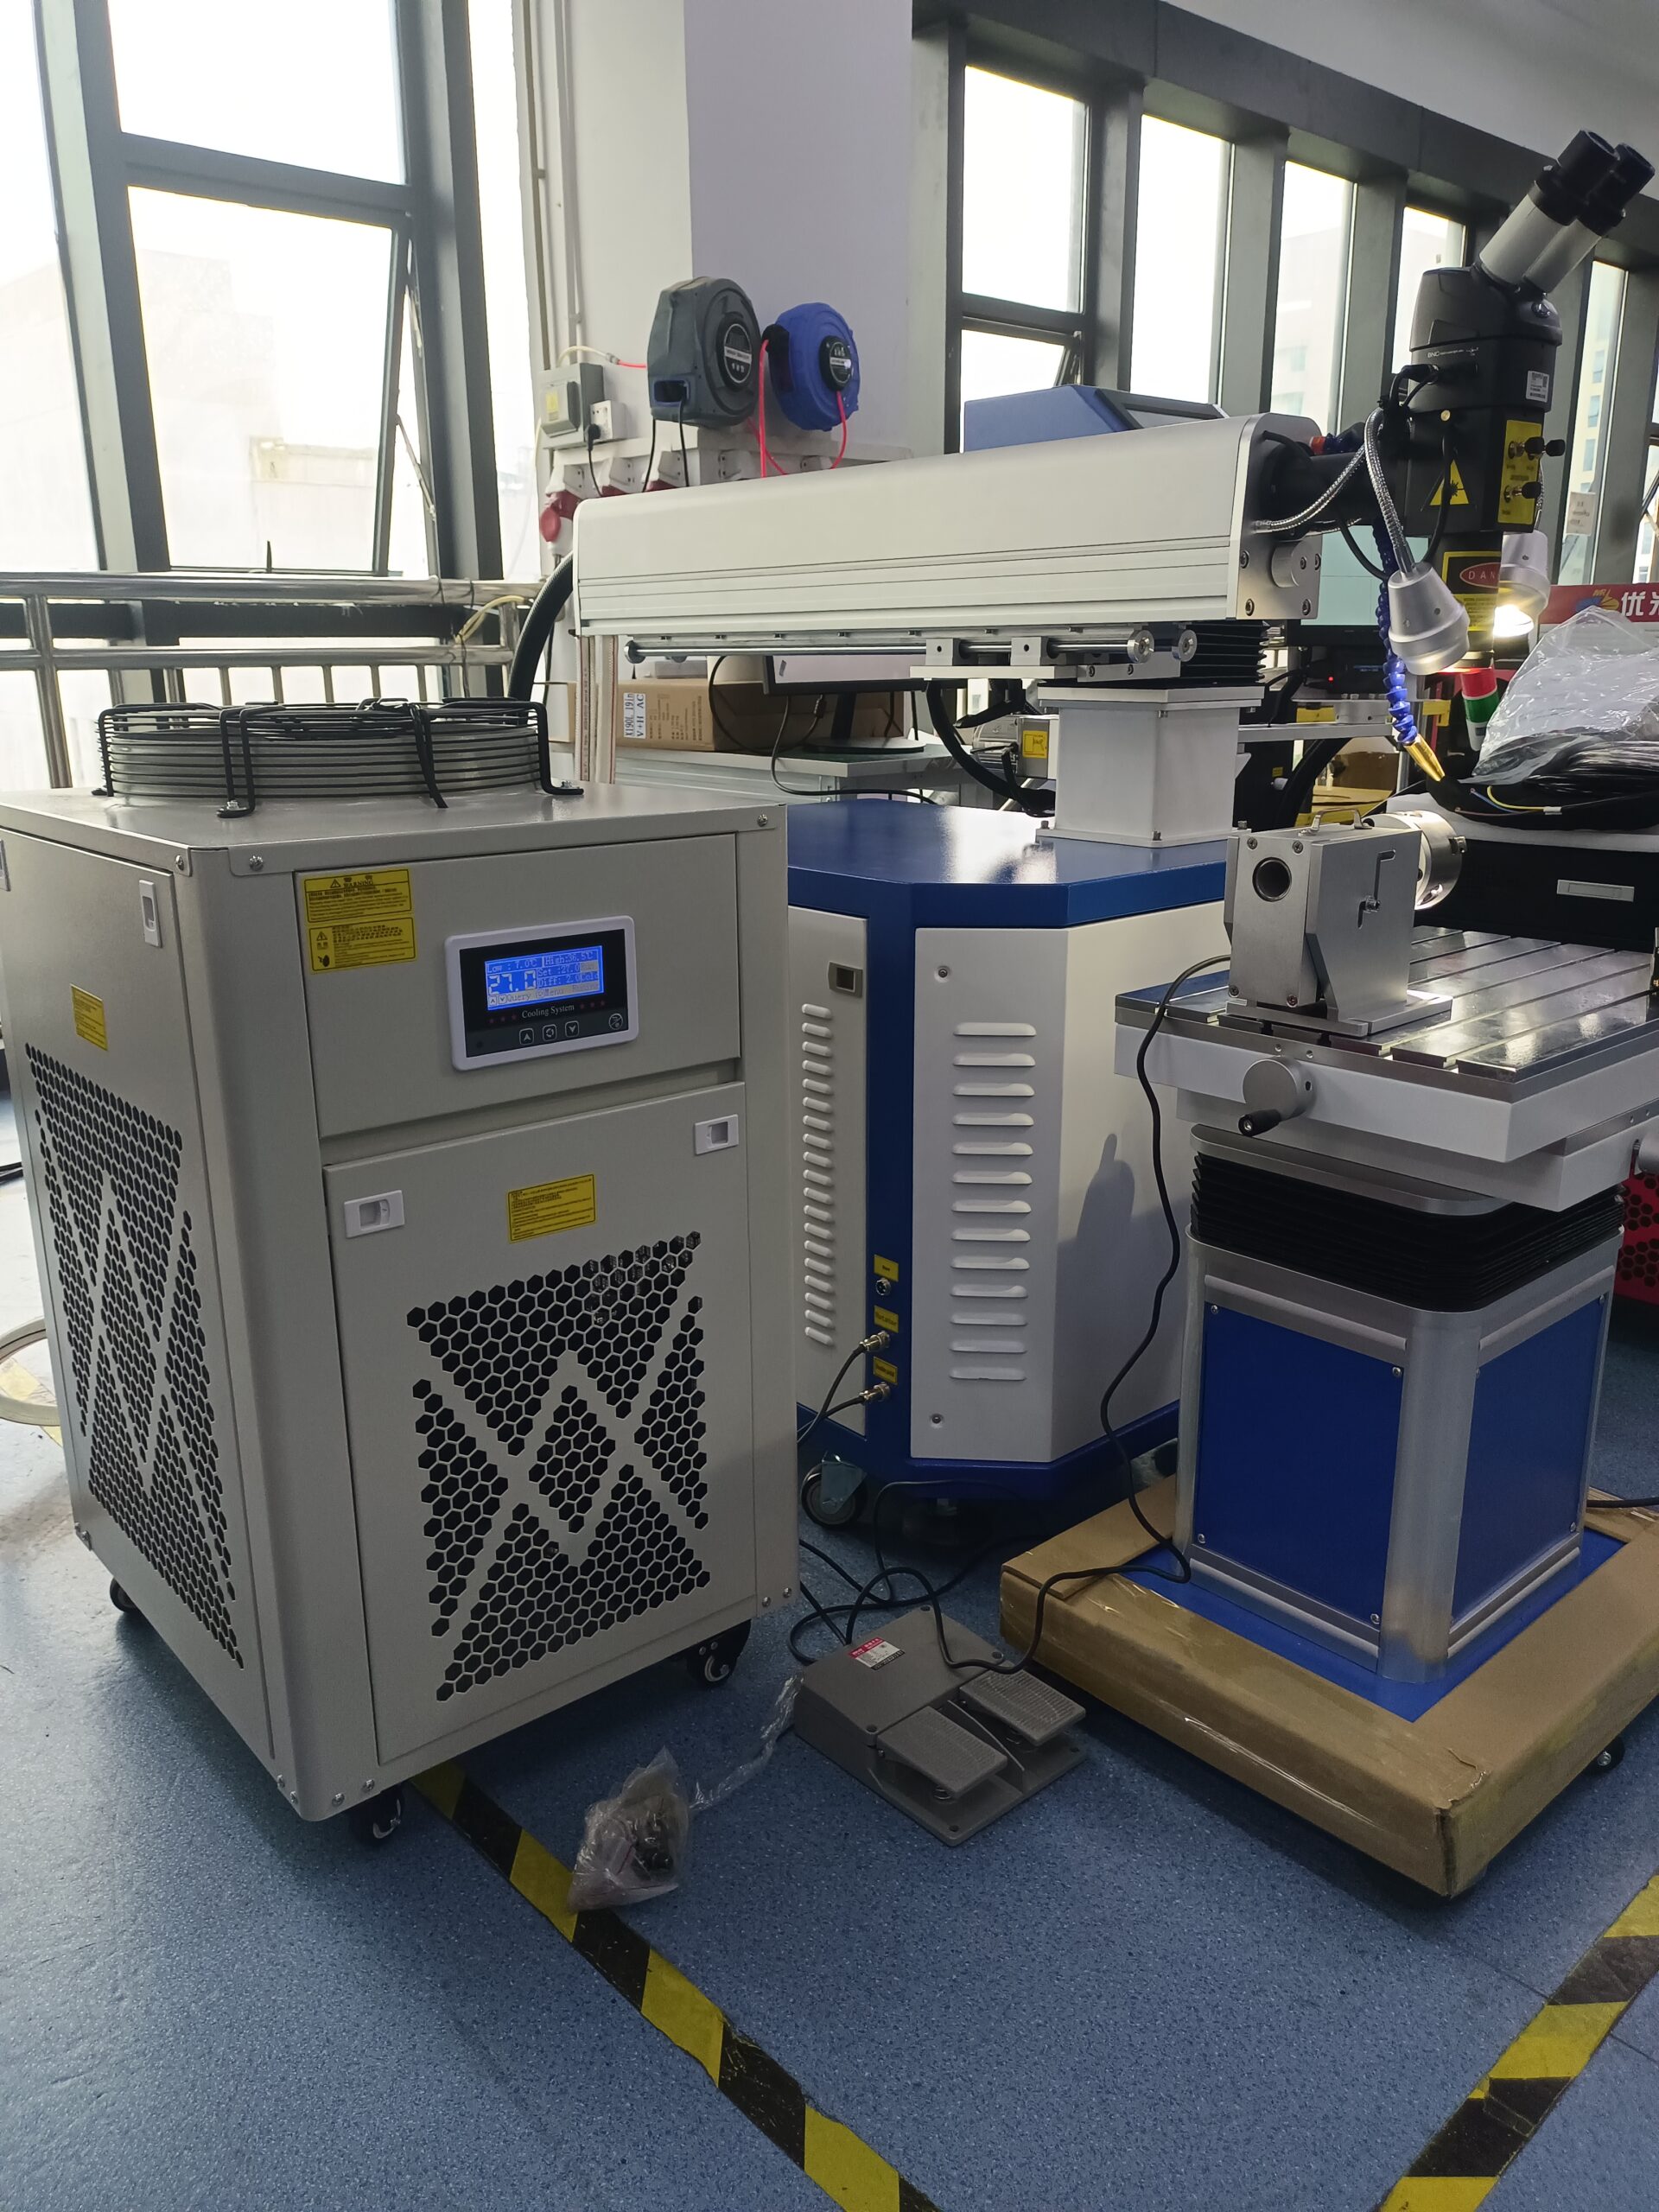
In the world of precision mold manufacturing and maintenance, YAG laser welding machines have become essential tools for achieving high-quality repairs without compromising mold integrity. These sophisticated systems enable technicians to perform delicate welding operations on complex mold surfaces with minimal heat impact. Proper operation and regular maintenance are crucial for maintaining consistent performance and extending equipment life.
Part 1: Precision in Practice – Operating Your YAG Mold Welder
Preparation Phase
-
Workspace Setup
-
Ensure adequate ventilation is operational to remove welding fumes
-
Verify proper grounding and electrical connections
-
Clean the work area to prevent contamination of optical components
-
Install appropriate safety signage and laser protection barriers
-
-
Equipment Preparation
-
Power on the cooling system and allow it to stabilize (typically 20-25°C)
-
Activate the main power and allow the system to warm up for 10-15 minutes
-
Check argon gas pressure and flow rate (usually 8-15 L/min)
-
Inspect all safety interlocks and emergency stop functions
-
Parameter Setting Phase
-
Material Assessment and Parameter Selection
-
Identify mold material type and select appropriate parameters:
-
Tool steel: 3-8J energy, 3-6ms pulse width
-
HSS: 4-10J energy, 4-8ms pulse width
-
Carbide: 2-5J energy, 2-4ms pulse width
-
-
Start with conservative settings and adjust based on test results
-
-
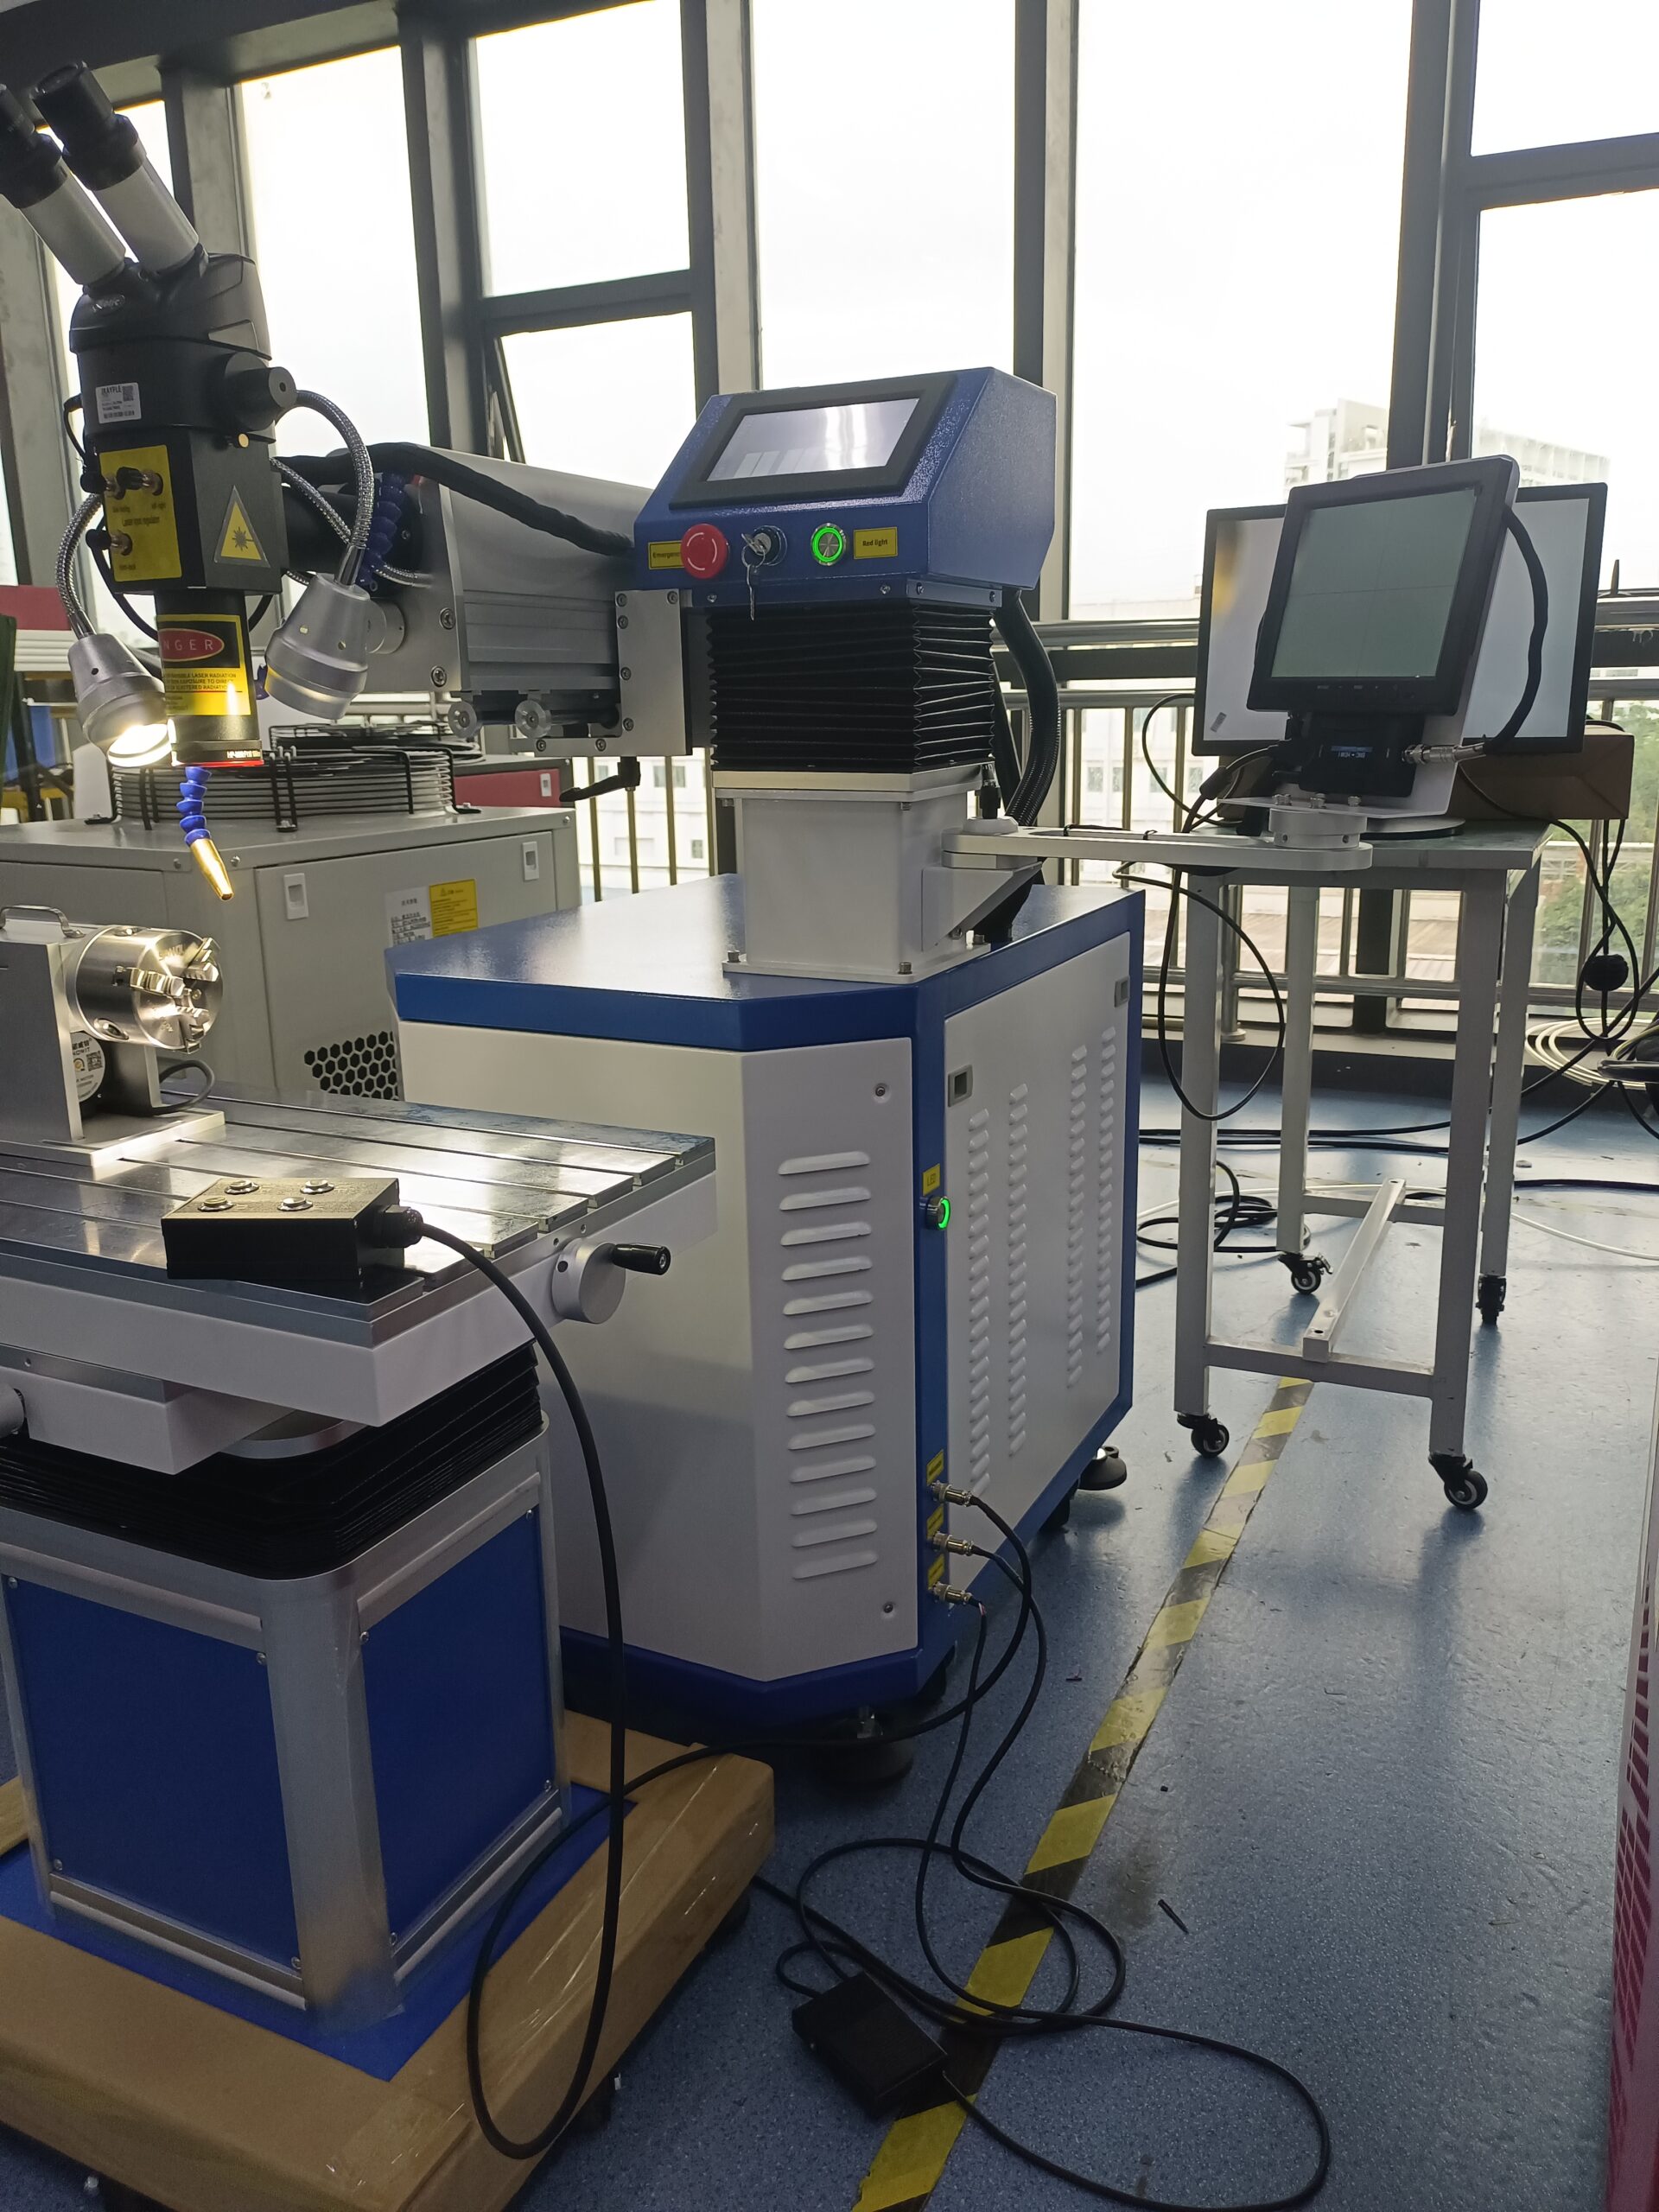
Optical System Configuration
-
Adjust microscope focus for clear visualization
-
Calibrate red pointer alignment
-
Set appropriate defocus distance based on repair requirements
-
Verify beam quality and spot size
-
Welding Operation Phase
-
Sample Testing
-
Perform test welds on sample material
-
Evaluate weld penetration and appearance
-
Adjust parameters as needed before proceeding
-
-
Precision Welding Techniques
-
Maintain consistent torch angle and distance
-
Use overlapping pulses for continuous seams
-
Implement multi-pass strategy for deep repairs
-
Monitor heat accumulation and allow cooling when necessary
-
Post-Operation Procedures
-
Quality Verification
-
Inspect welds under magnification
-
Check for cracks, porosity, or incomplete fusion
-
Verify dimensional accuracy
-
-
Equipment Shutdown
-
Follow proper shutdown sequence
-
Clean work area and store accessories
-
Document parameters for future reference
-
Part 2: Maintaining Peak Performance – Essential Maintenance Guide
Daily Maintenance (5-10 minutes)
-
Optical component inspection and cleaning
-
Gas system leak check
-
Cooling system performance verification
-
Work area cleaning and organization
Weekly Maintenance (15-30 minutes)
-
Thorough optical path cleaning
-
Electrode inspection and maintenance
-
Mechanical component lubrication
-
Safety system functional test
Monthly Maintenance (30-60 minutes)
-
Comprehensive optical system inspection
-
Cooling system maintenance
-
Electrical connection verification
-
Calibration check
Quarterly/Annual Maintenance
-
Professional servicing recommended
-
Laser cavity alignment
-
Flashlamp replacement
-
Complete system calibration
Critical Operational Guidelines
-
Always wear appropriate laser safety glasses
-
Maintain clean, dry compressed air supply
-
Keep optical components free from contamination
-
Follow manufacturer’s parameter recommendations
-
Never bypass safety interlocks
Troubleshooting Common Issues
-
Poor Weld Quality
-
Check optical component cleanliness
-
Verify parameter settings
-
Inspect ground connections
-
-
Inconsistent Performance
-
Monitor cooling system operation
-
Check gas purity and flow rate
-
Verify power stability
-
-
Equipment Errors
-
Consult operation manual
-
Contact technical support
-
Maintain error log documentation
-
Conclusion: Excellence Through Proper Care
Your YAG mold welding system represents a significant investment in quality and capability. By following these operational guidelines and maintenance practices, you ensure consistent welding performance, extend equipment lifespan, and maintain the highest standards of mold repair quality.
Need Professional Support?
Contact our technical team for detailed maintenance schedules, operator training, or professional service to keep your YAG mold welding system performing at its best.