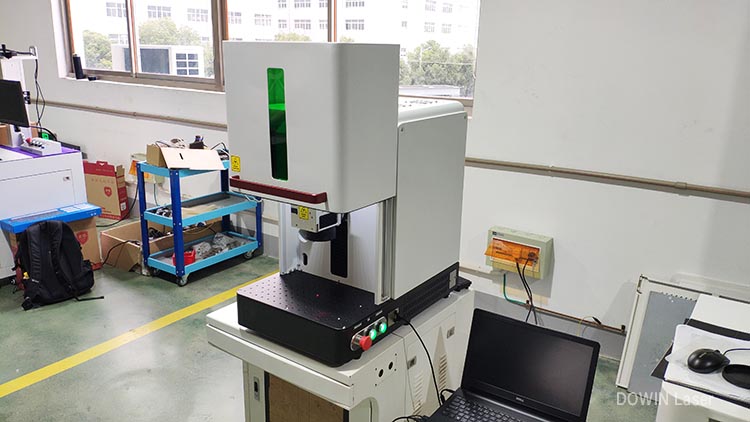
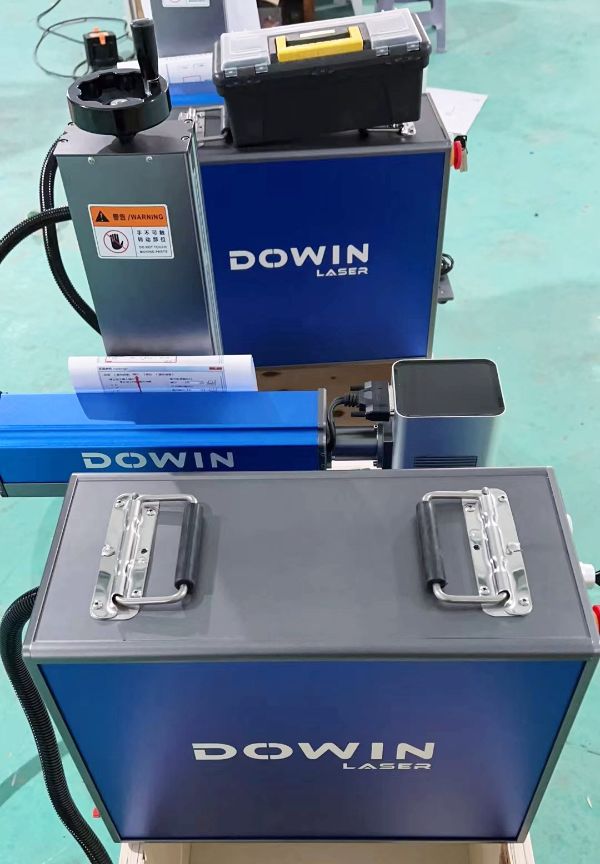
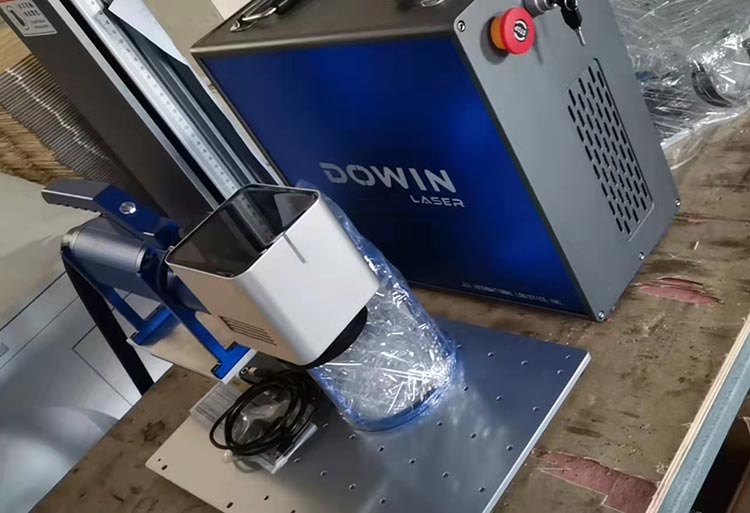
The Art of Precision: A Practical Guide to Using and Maintaining Your UV Laser Marking Machine
UV laser marking technology represents the pinnacle of precision marking for sensitive materials. While these systems are engineered for exceptional performance, their sophisticated optics and sensitive components require proper handling and maintenance to ensure consistent results and long-term reliability. This guide walks you through the essential steps of operation and upkeep.
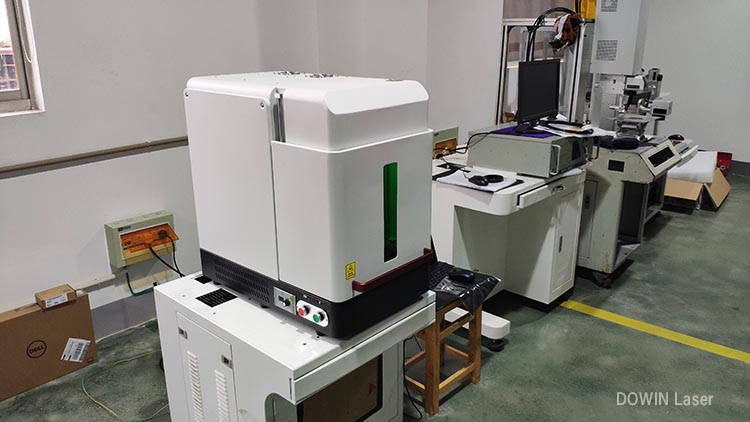
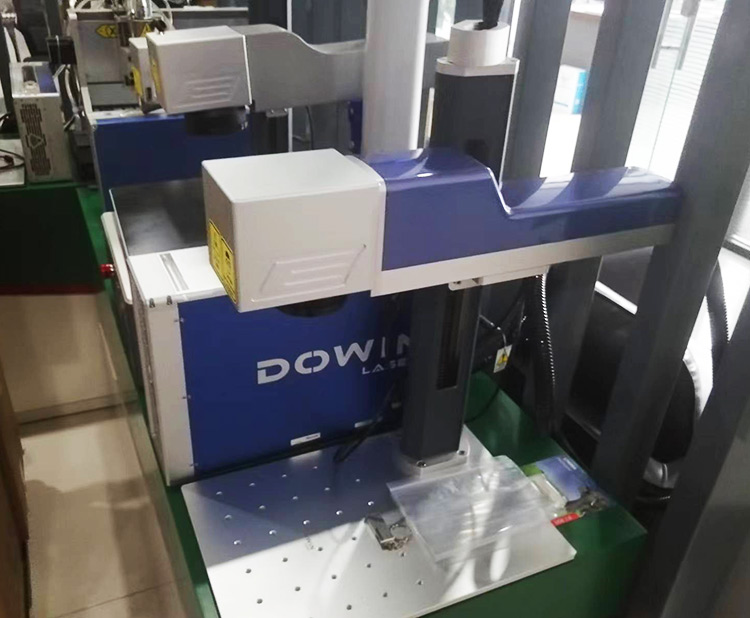
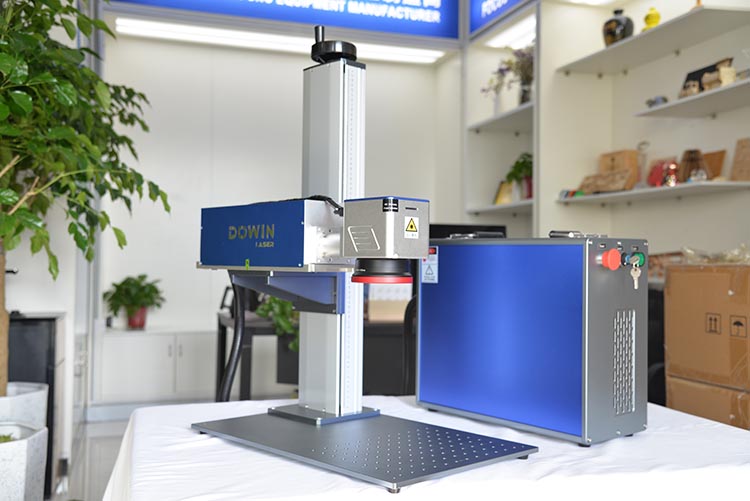
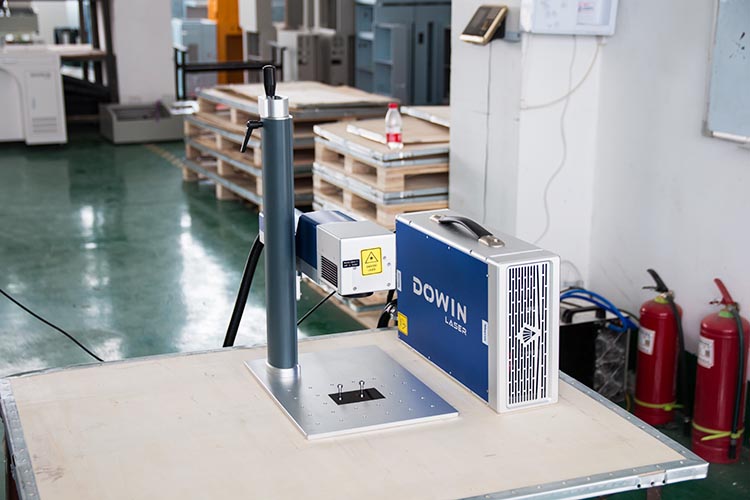
Part 1: The Precision Process – How to Operate Your UV Laser Marker
Operating a UV laser system requires attention to detail to harness its full potential for fine, cold-ablation marking.
Step 1: Pre-Operation Preparation
-
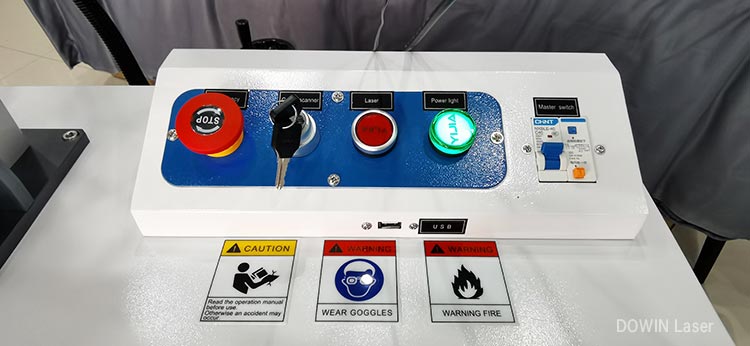
Environment Setup: Ensure the workstation is clean, stable, and free from excessive dust or vibration. UV lasers are sensitive to environmental contaminants.
-
Power-Up Sequence: First, activate the air purge or chiller system (if equipped) to ensure proper cooling. Then power on the main console and computer. This sequence protects the sensitive UV laser source from thermal fluctuations.
-
Warm-Up Time: Allow the system 5-10 minutes to stabilize. UV lasers require this time to reach optimal operating temperature and beam stability.
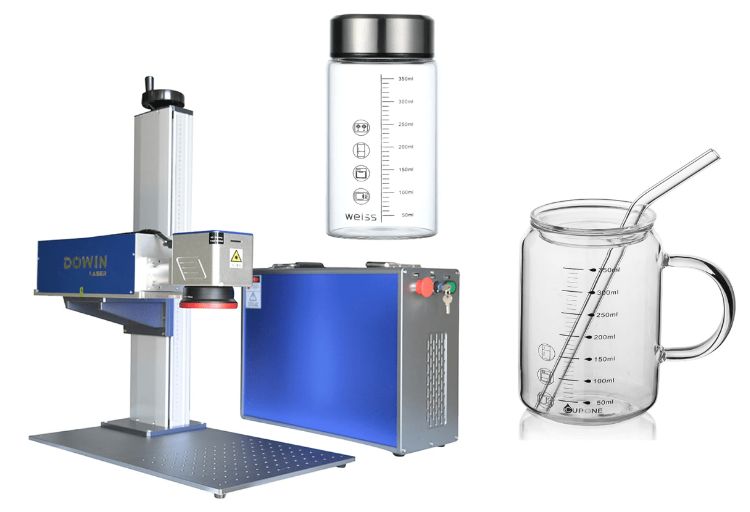
Step 2: Workpiece Preparation & Focusing
-
Material Compatibility Check: Verify that your material is suitable for UV marking. When in doubt, test on a sample piece first.
-
Fixturing: Secure the workpiece firmly using non-reflective fixtures. Even slight movement can affect marking quality at these precision levels.
-
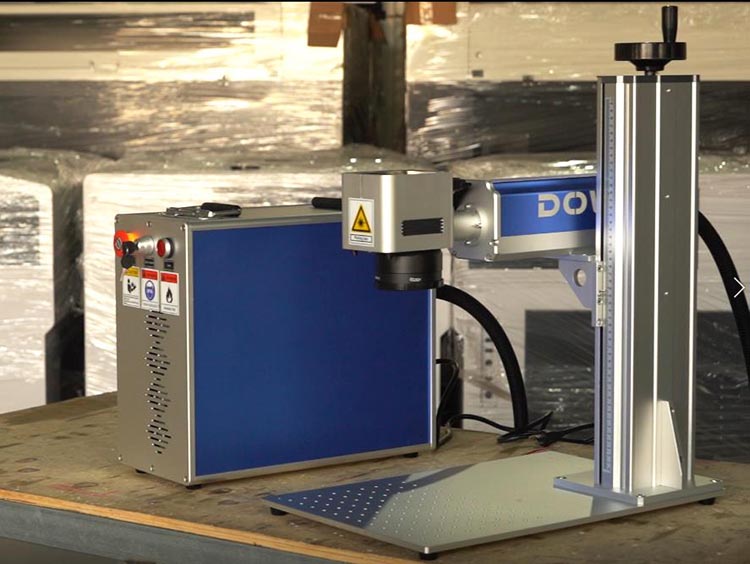
Precise Focusing: UV marking requires exact focal distance. Use the manual Z-axis adjustment or automatic height sensor to position the laser head at the optimal focus point. A properly focused beam is crucial for achieving the desired contrast and resolution.
Step 3: Software Configuration
-
Parameter Selection: UV marking typically uses lower power settings than fiber lasers. Start with recommended parameters for your material:
-
Power: 15-30% (varies by material)
-
Speed: 100-500 mm/s
-
Frequency: 20-80 kHz
Always begin with conservative settings and adjust based on test results.
-
-
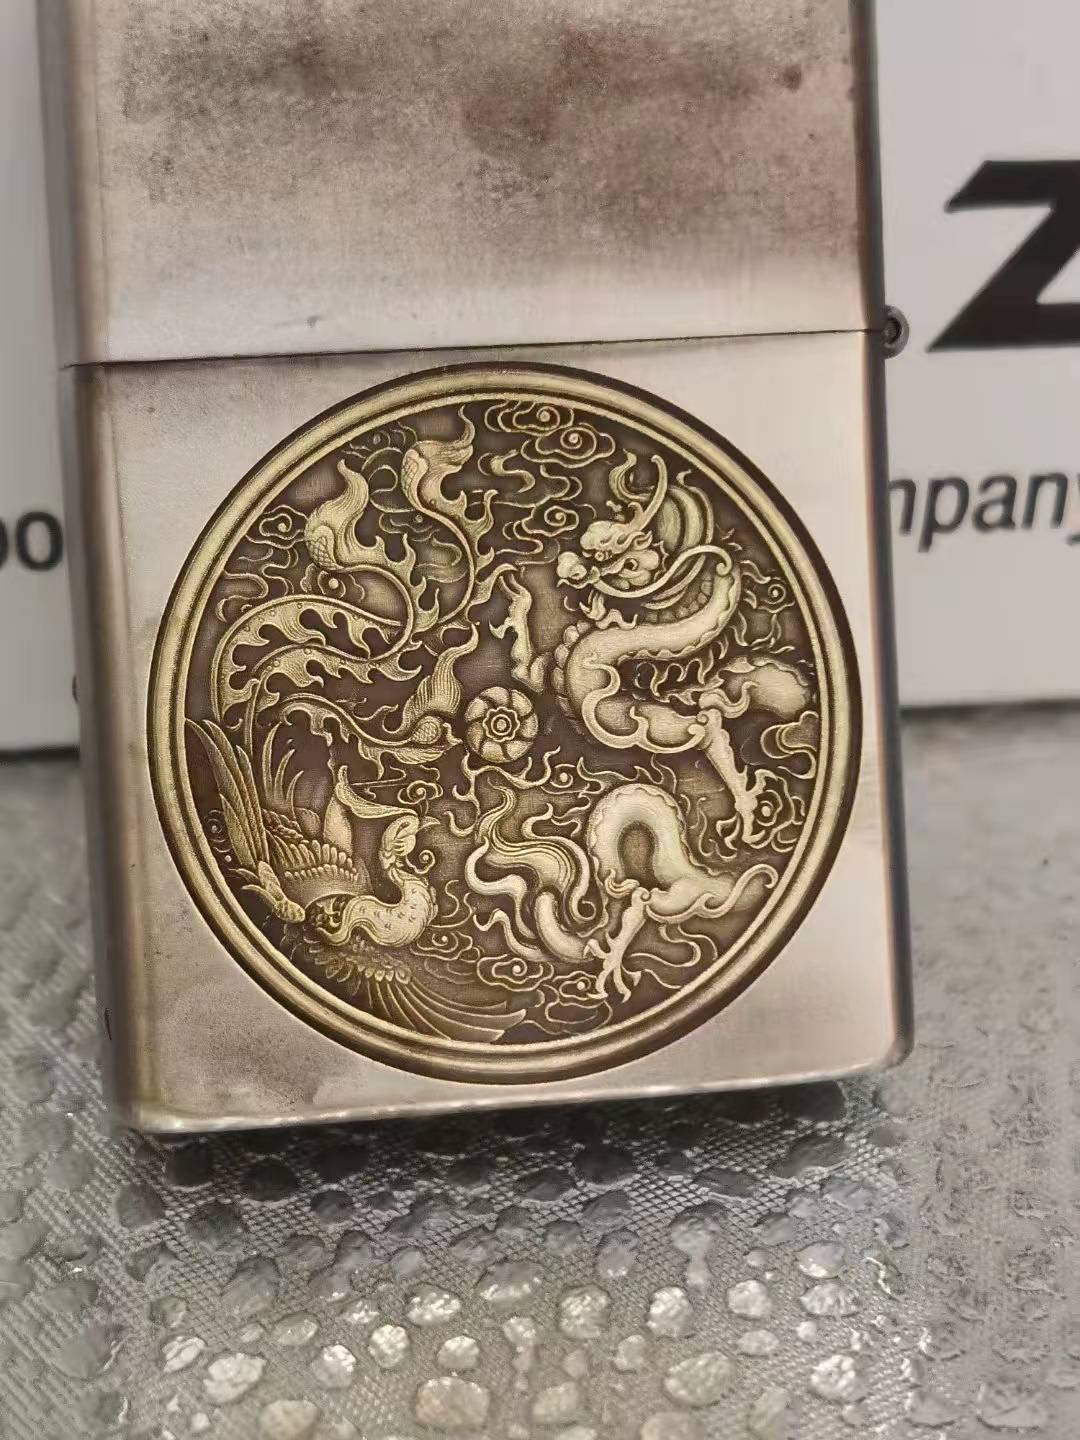
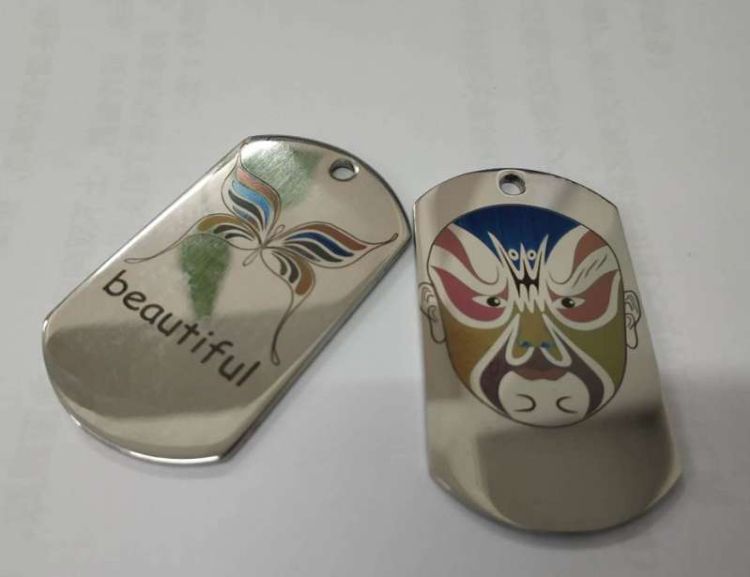
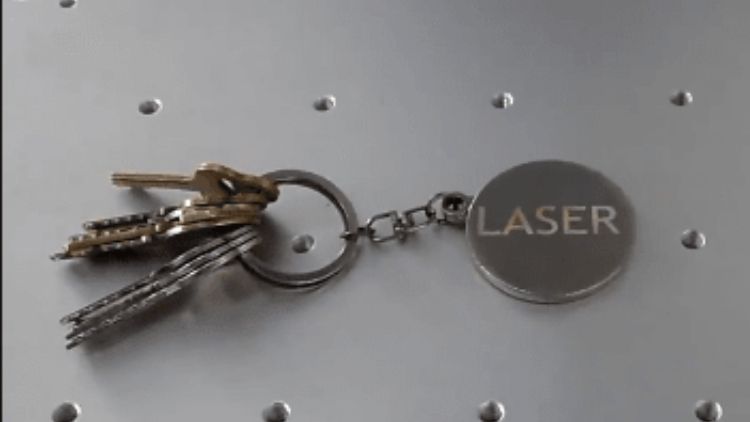
Design Import: Create or import your vector-based design file. UV lasers excel at reproducing fine details and complex graphics.
-
Preview & Positioning: Use the integrated red pointer light to verify marking location before initiating the laser.
Step 4: Execution & Quality Verification
-
Test Mark: Always perform a test mark on a sample piece or inconspicuous area. UV effects can vary significantly between material batches.
-
Parameter Adjustment: Fine-tune settings based on test results. Seek optimal contrast without material damage.
-
Production Run: Initiate the marking process once optimal results are achieved. Monitor the first few pieces to ensure consistency.
Step 5: Shutdown Procedure
-
Complete all marking tasks and ensure the laser is idle.
-
Power down the laser system first, then the cooling system.
-
Clean the work area, removing any debris or dust.
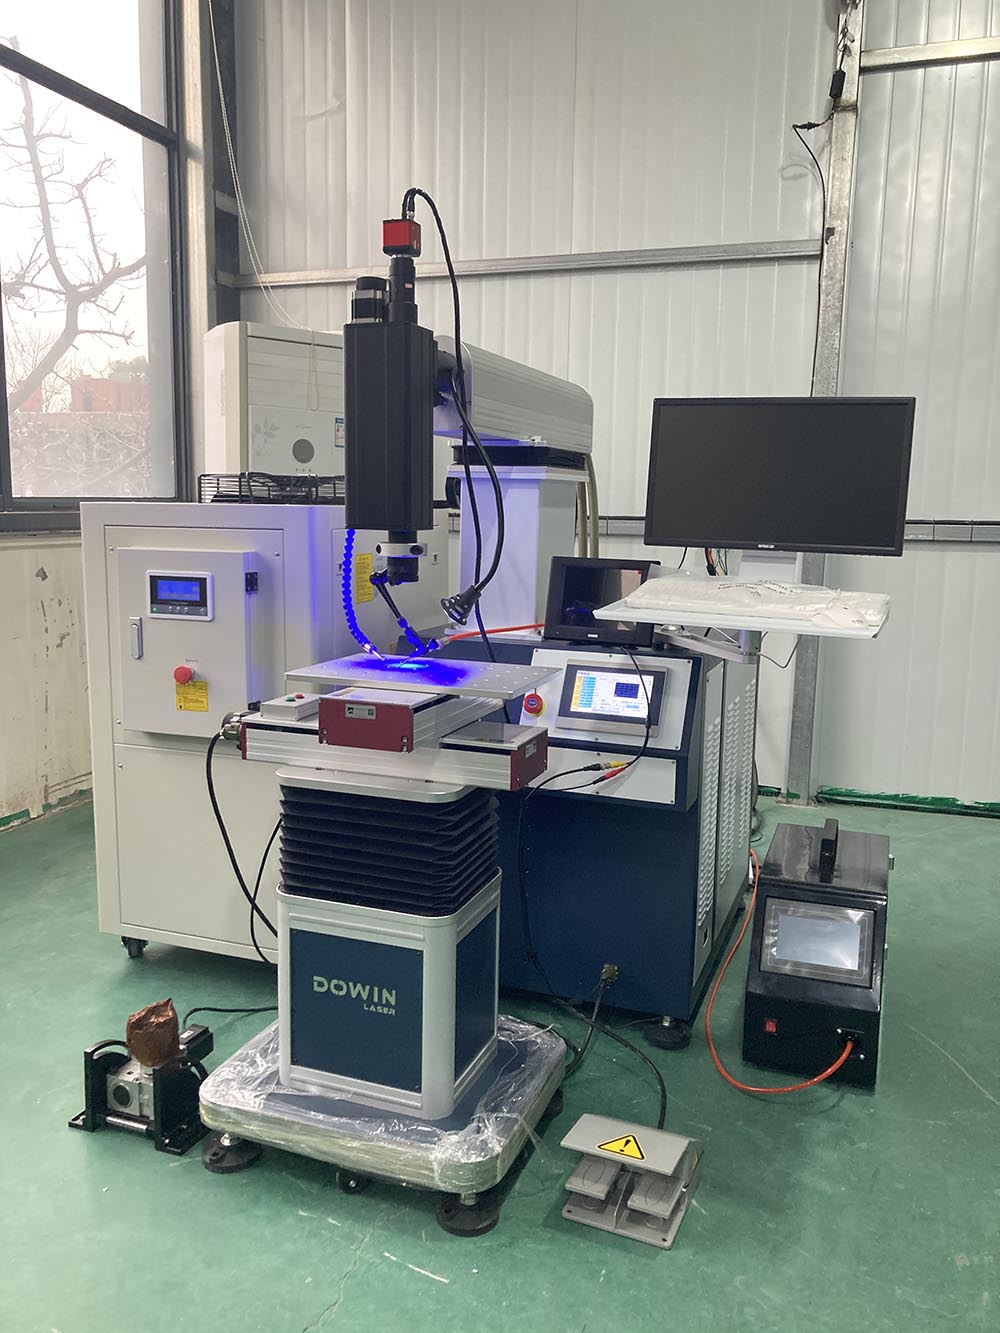
Part 2: Preserving Precision – Essential Maintenance Guidelines
Regular maintenance is crucial for maintaining marking quality and extending the life of your UV laser system.
Daily Maintenance (5-10 minutes)
-
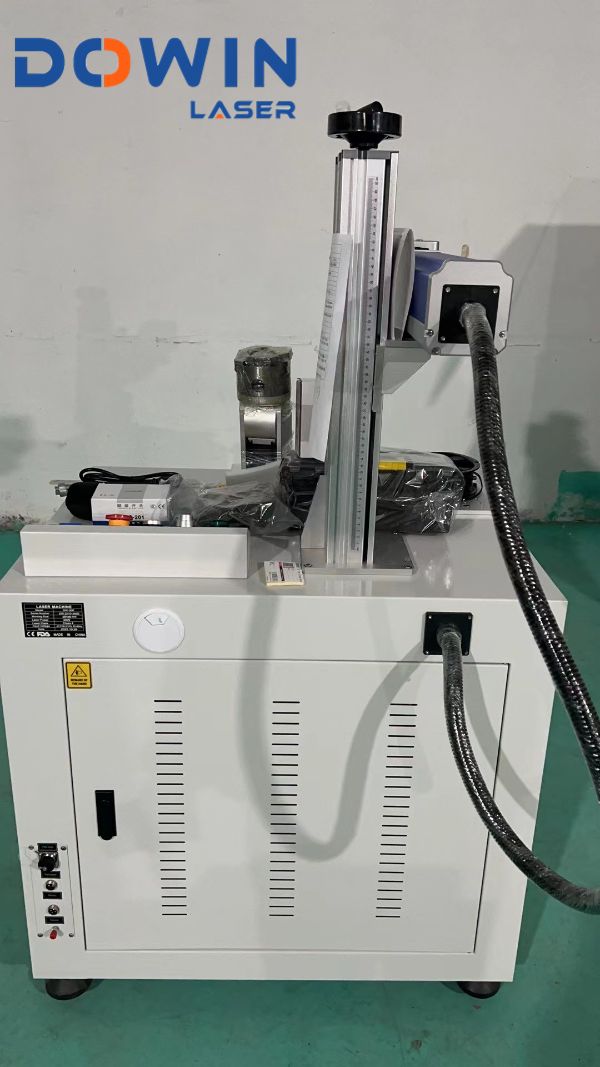
Optical Inspection: Check the laser output window and protective lens for contamination. UV lasers are particularly susceptible to dust accumulation.
-
Lens Cleaning: Gently clean the protective lens with lens tissue and optical-grade alcohol. Use a fresh tissue for each wipe, moving from center to edge.
-
Work Area Cleaning: Remove any debris from the work area and ventilation paths.
Weekly Maintenance (15-20 minutes)
-
Thorough Optical Cleaning: Carefully clean all accessible optical components including the beam path viewport (if accessible).
-
Ventilation Check: Ensure the fume extraction system is functioning properly and filters are not clogged.
-
Mechanical Inspection: Check all moving parts for smooth operation and tighten any loose fittings.
Monthly Maintenance (30-60 minutes)
-
Detailed Optical Path Inspection: Examine the entire optical path for dust or degradation.
-
Cooling System Check: Verify coolant levels and quality. Replace if discolored or contaminated.
-
Beam Alignment Verification: Check beam alignment according to manufacturer specifications.
Quarterly/Annual Maintenance
-
Professional Service: Schedule professional maintenance with qualified technicians for:
-
Laser source power calibration
-
Optical path realignment
-
Scanner calibration
-
Comprehensive system diagnostics
-
Critical注意事项 (Dos and Don’ts)
-
ALWAYS allow proper warm-up and cool-down time
-
ALWAYS use recommended cleaning materials and techniques
-
ALWAYS keep the laser cover closed during operation
-
NEVER operate without proper cooling/ventilation
-
NEVER touch optical components with bare hands
-
NEVER attempt to service the laser source yourself
Troubleshooting Common Issues
-
Decreased Marking Quality: Usually indicates dirty optics or need for beam alignment
-
Inconsistent Results: Often caused by focusing issues or material variation
-
System Errors: Typically related to cooling system or power supply issues
Conclusion: Precision Requires Care
Your UV laser marking system represents a significant investment in quality and capability. By following these operational guidelines and maintenance practices, you ensure consistent performance, extend equipment lifespan, and protect your investment while maintaining the highest quality markings.
Need Expert Support?
Contact our service team for detailed maintenance schedules, operator training, or professional service to keep your UV laser system performing at its best.